The Mansion | Fixed Camera Experience
Summary
A level about a psychologist that is worried about his patient visits their mansion.
Using fixed cameras and working with composition to lead the player with a custom made template made by me. The goal is to find out what has happened with environmental storytelling.
Breakdown
- 5 weeks half time (4 h/day)
- Unreal Engine 5.6
- Template made by me.
READ MORE ABOUT THE TEMPLATE HERE
Asset details:
- Blockout Tools & Blockout Starting Pack
- Flashlight Set by VanillaLoop
- Old office interior by Aleksandr Zhdanov
- Flashlight Shader by Elias Bennaceur
- Doctor Lab coat by Emil Nilsson
Goals
To create an experience that emphasizes exploration, environmental storytelling, create interesting backtracking with level sequences and work with composition using a fixed camera setup.
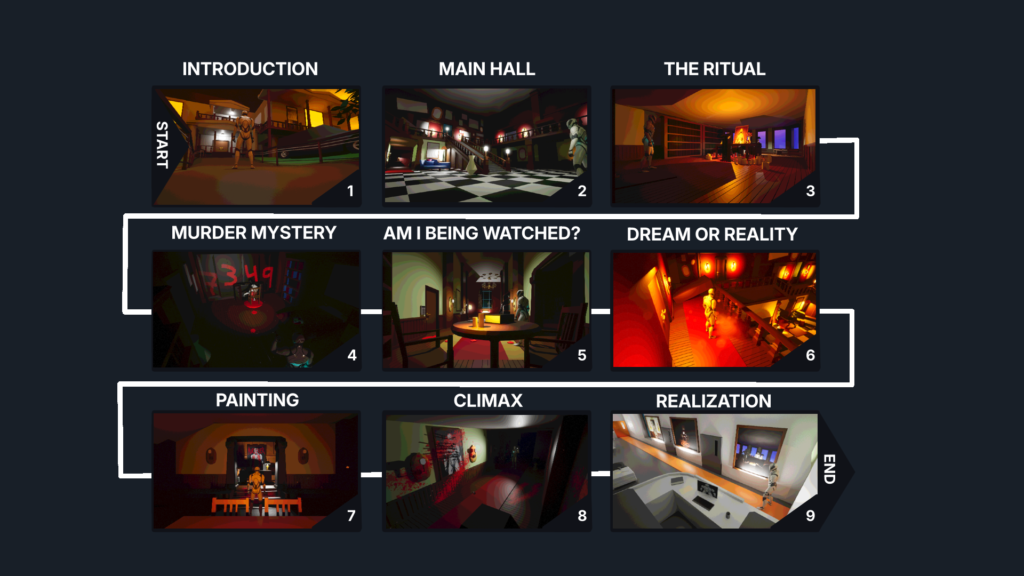
Video Walkthrough
Don’t feel like reading? Here is a video summarized version of this page
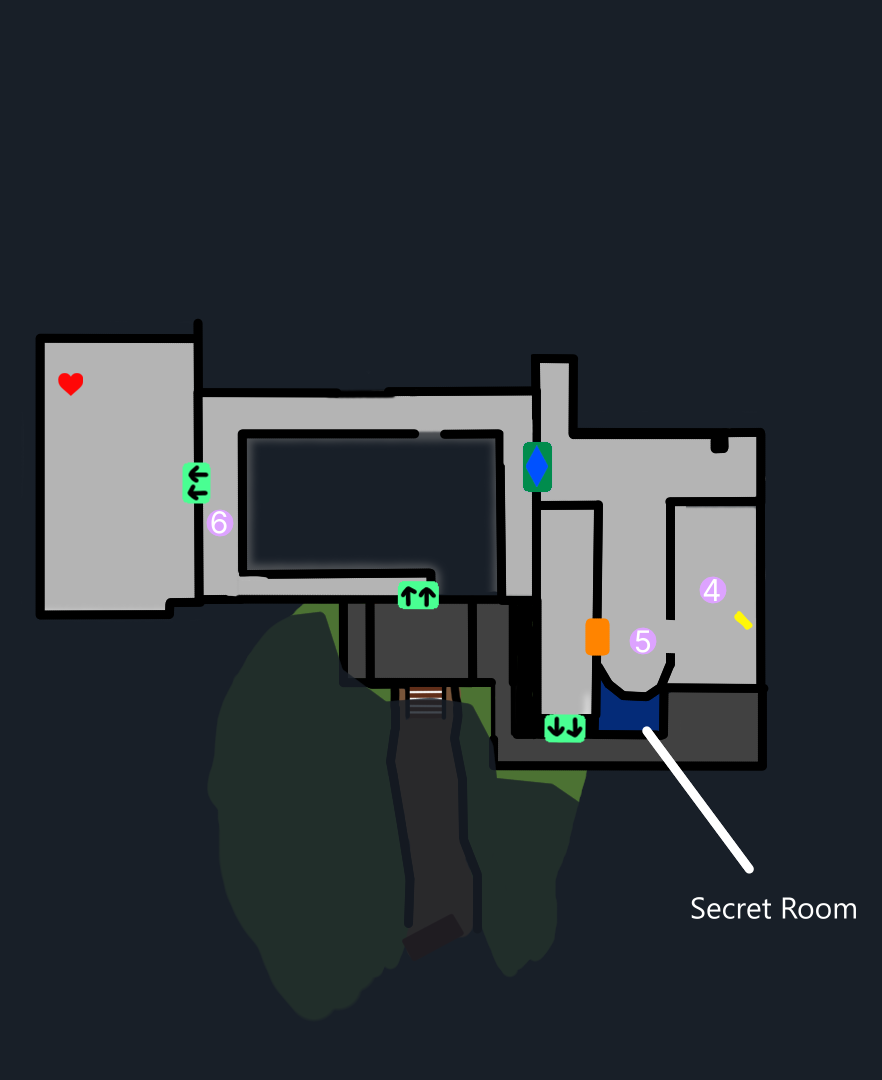
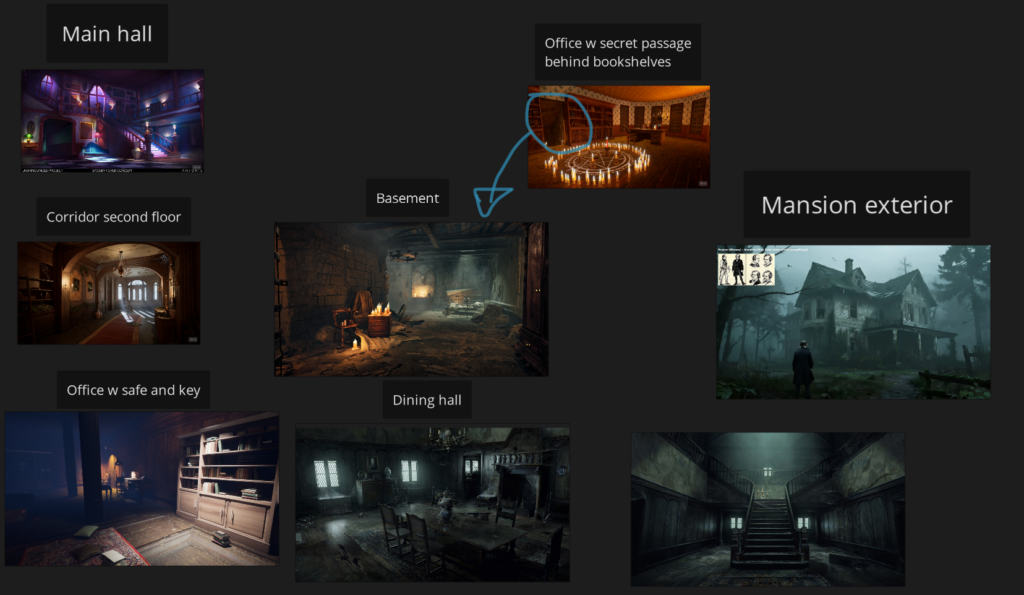
Level Overview
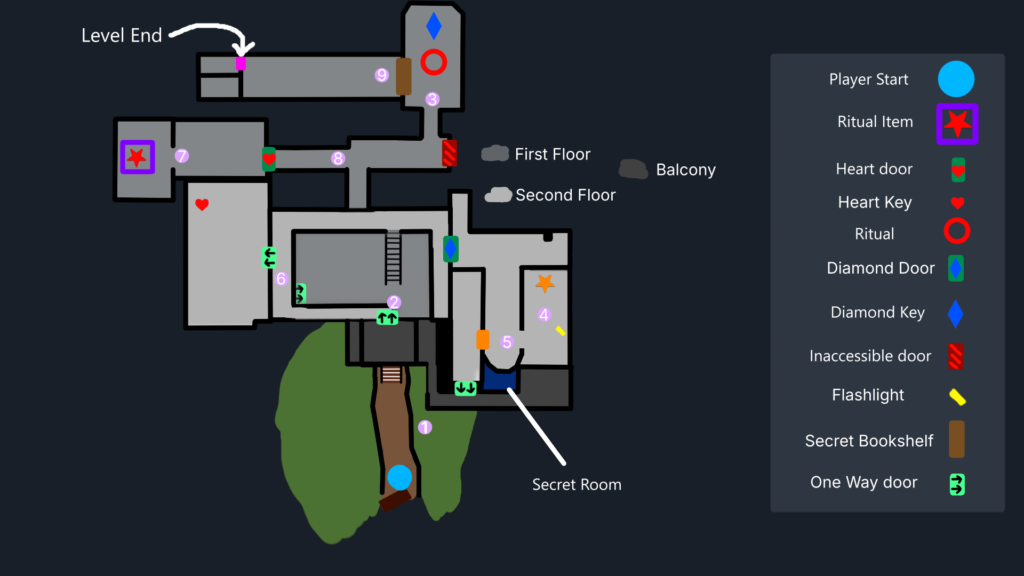
Walkthrough & Design
ACT 1
Establishing the Level
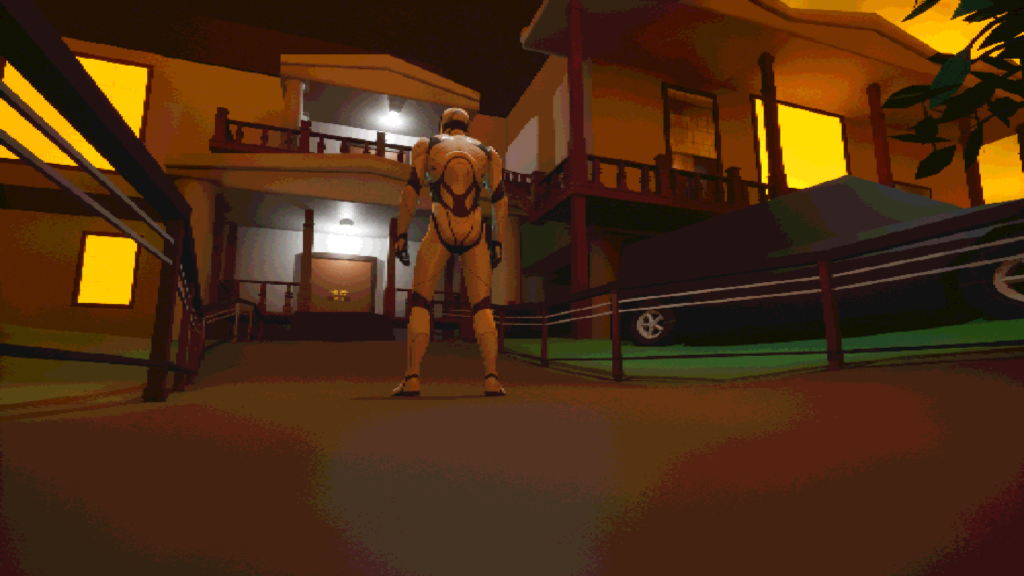
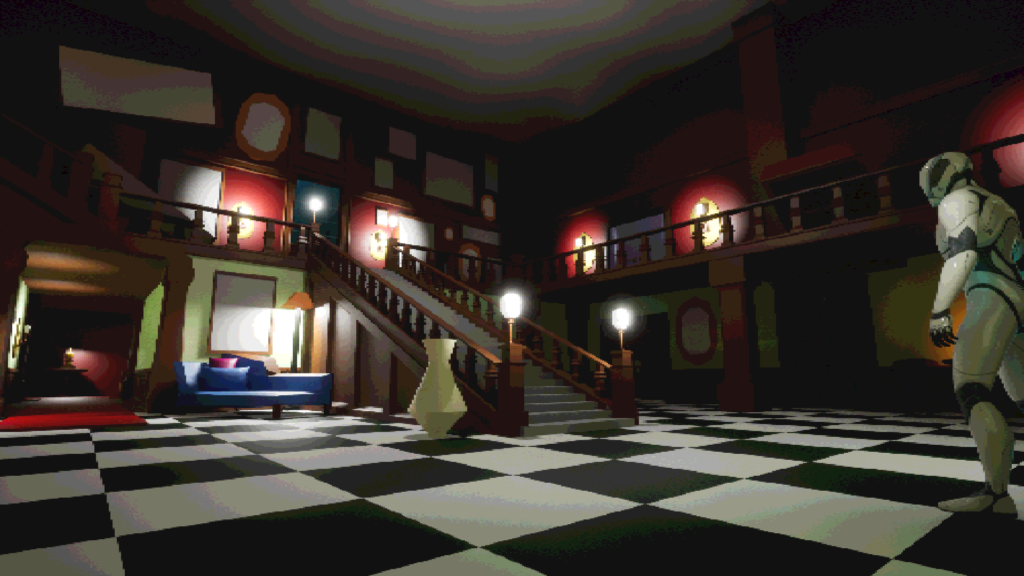
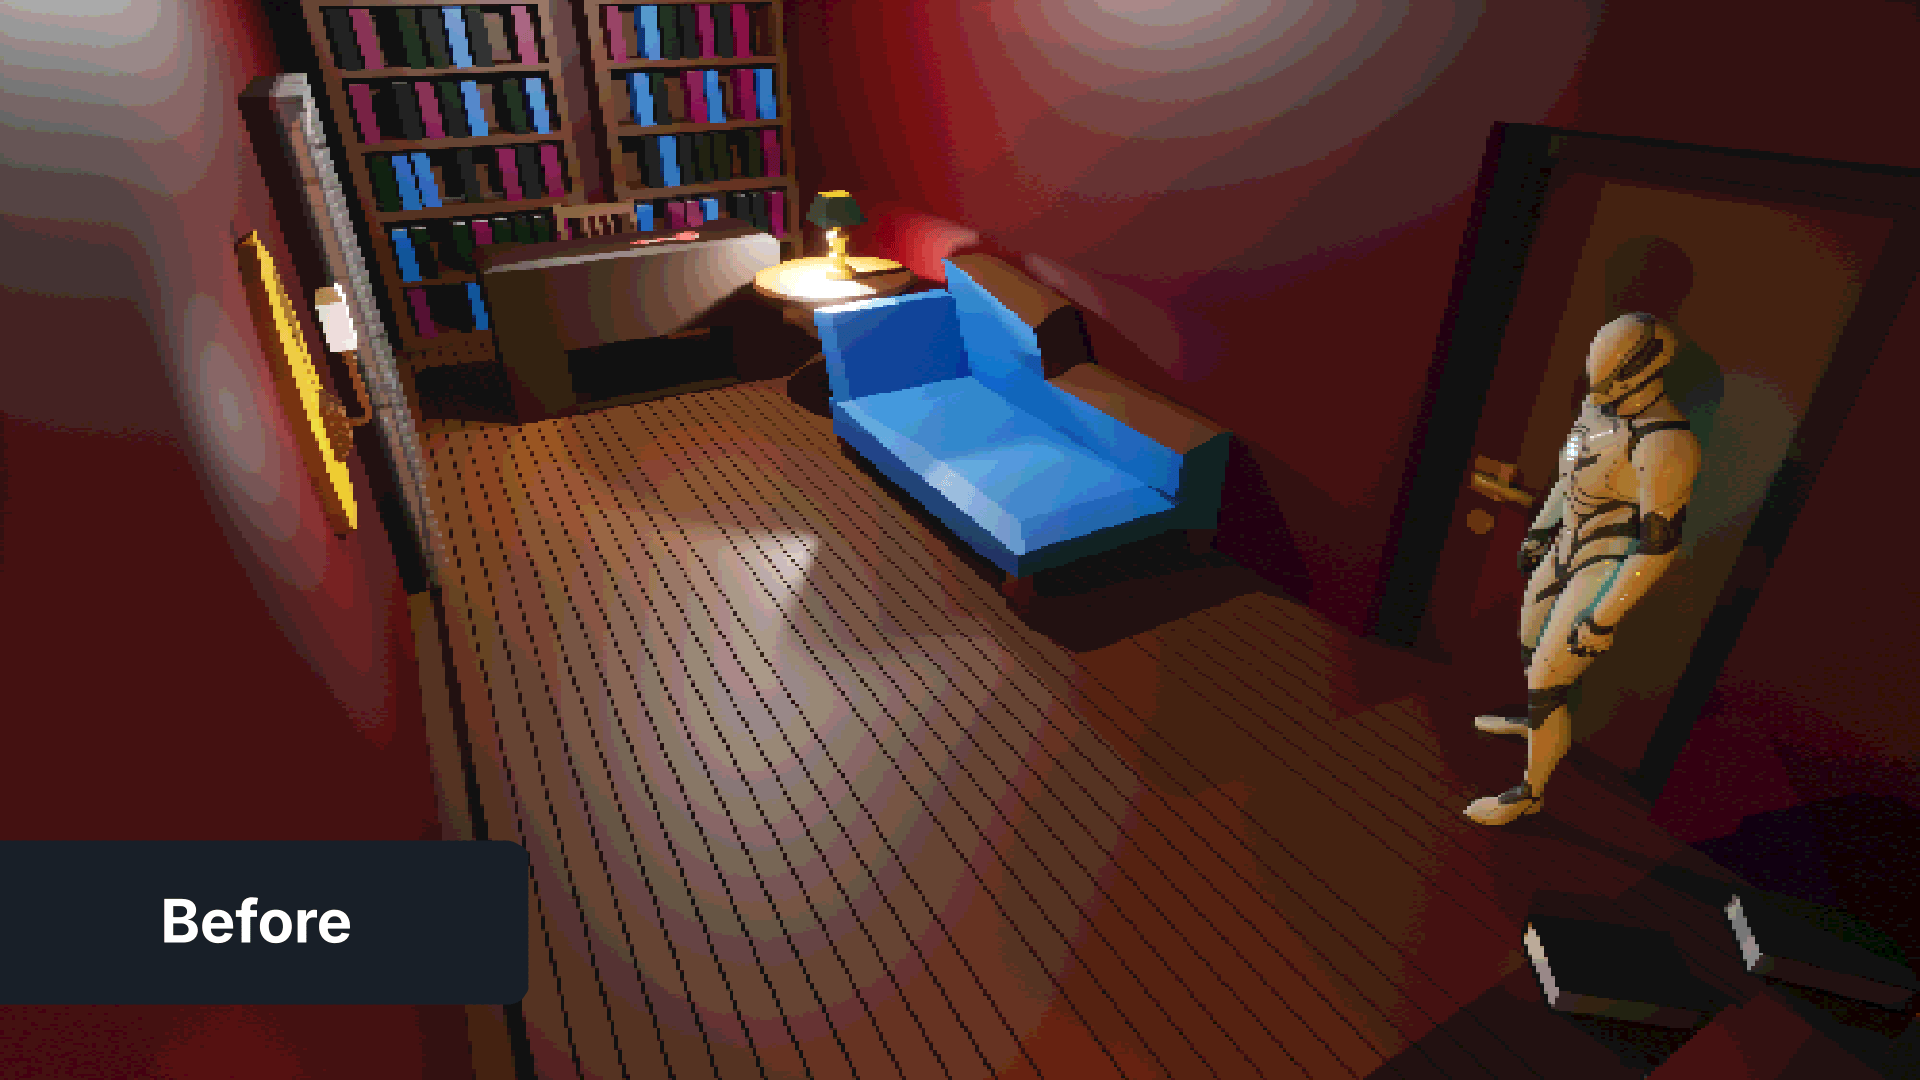
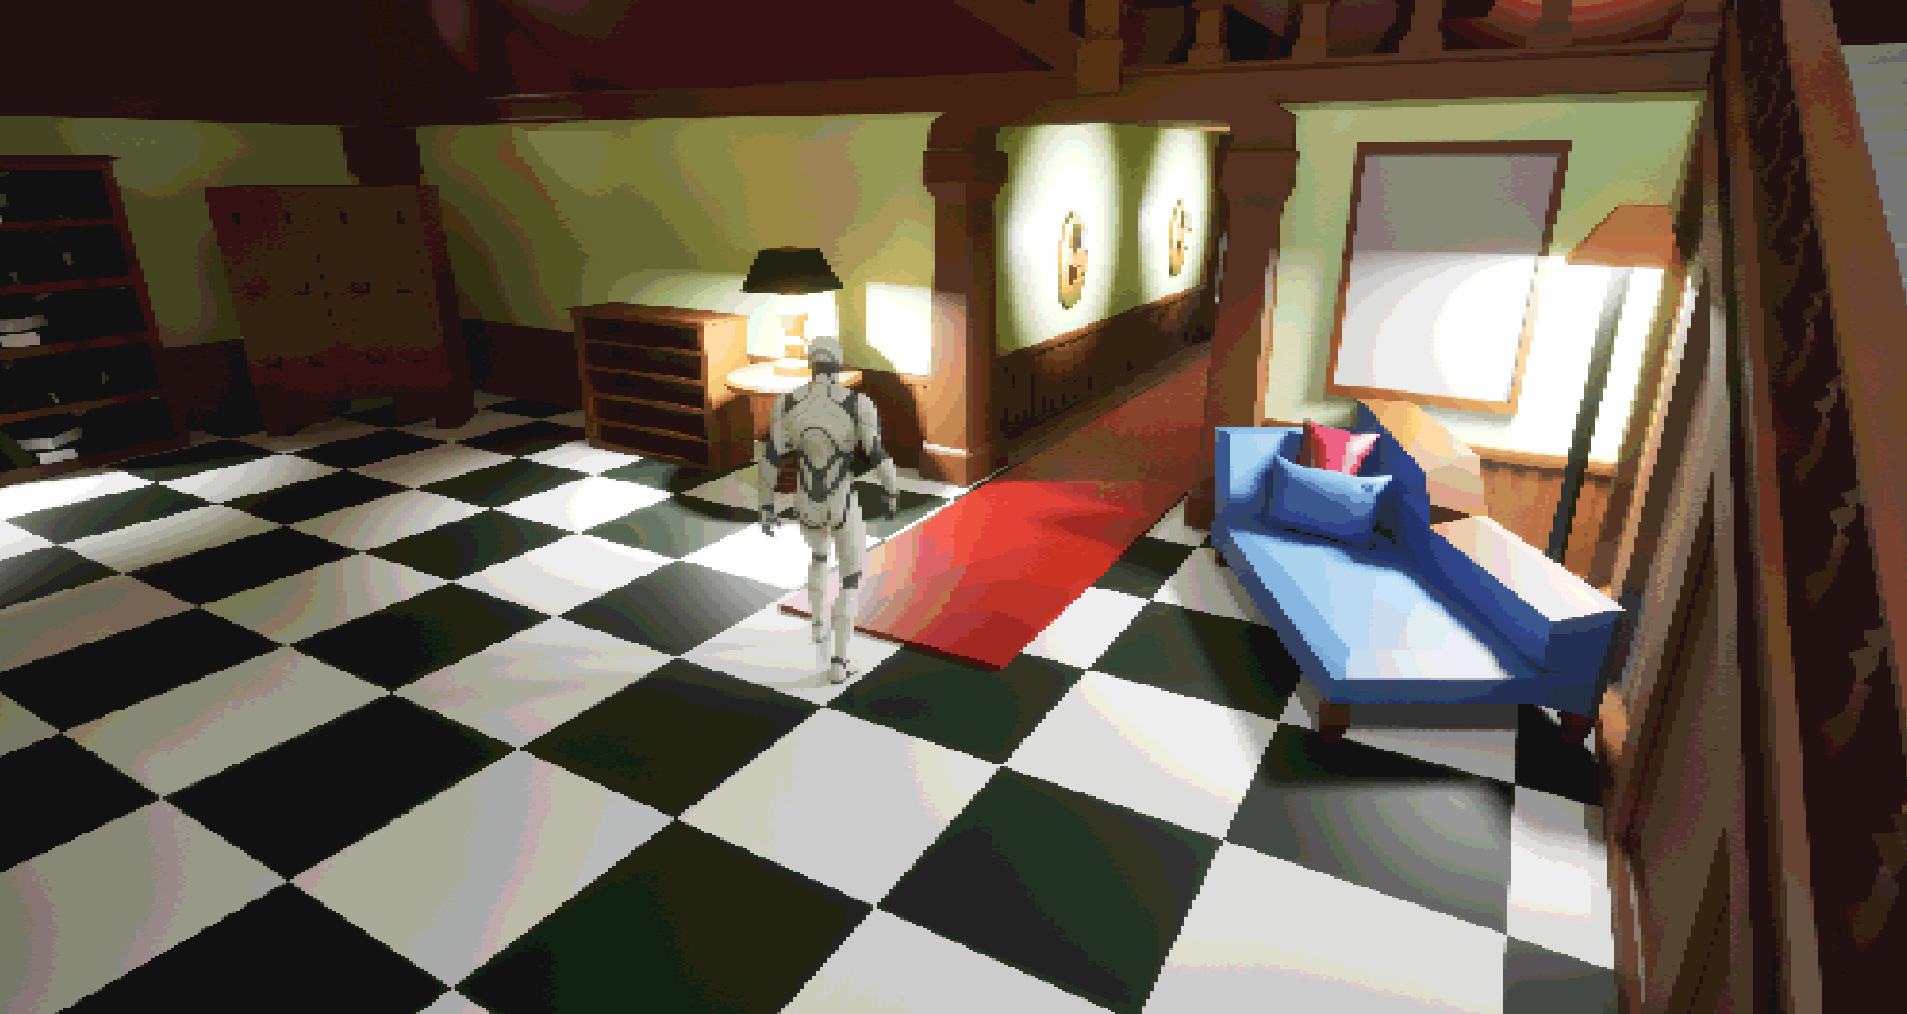
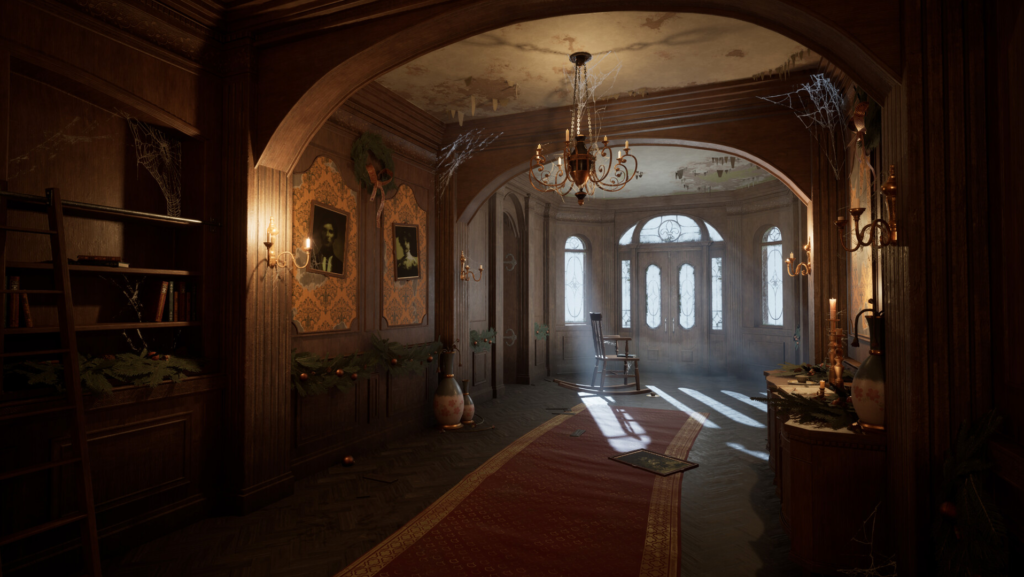
The level starts with you arriving to a mansion where you learn that someone has died. You are here because you are a therapist to the family that owns this mansion, but no one has answered your calls.
When you enter the estate the level relies a lot on exploration. Since the level is designed with the intent that you can interact with a lot of the environment it rewards players curiosity by foreshadowing what’s to come if they explore the mansion.
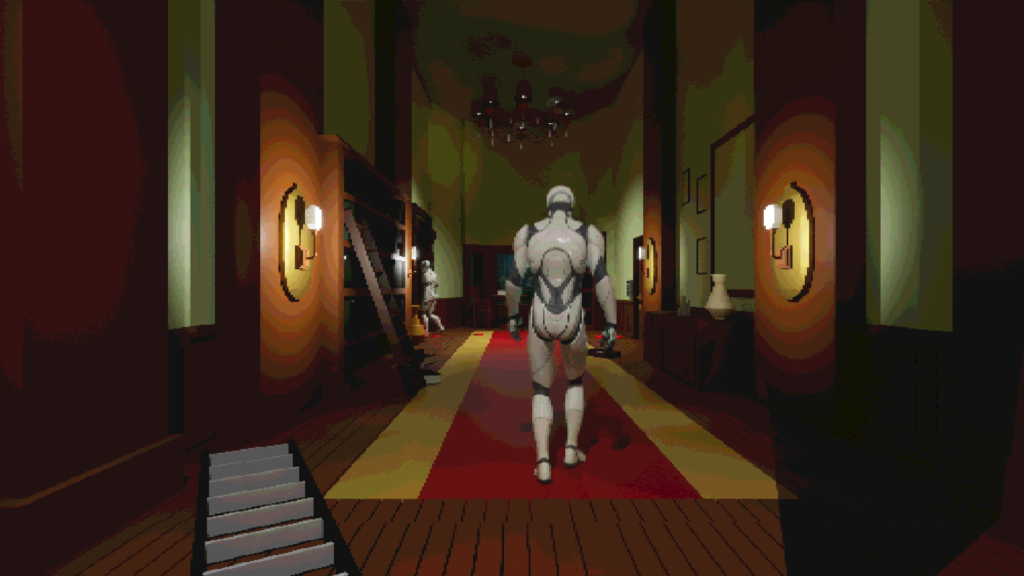
1 . Introduction
2 . Main Hall
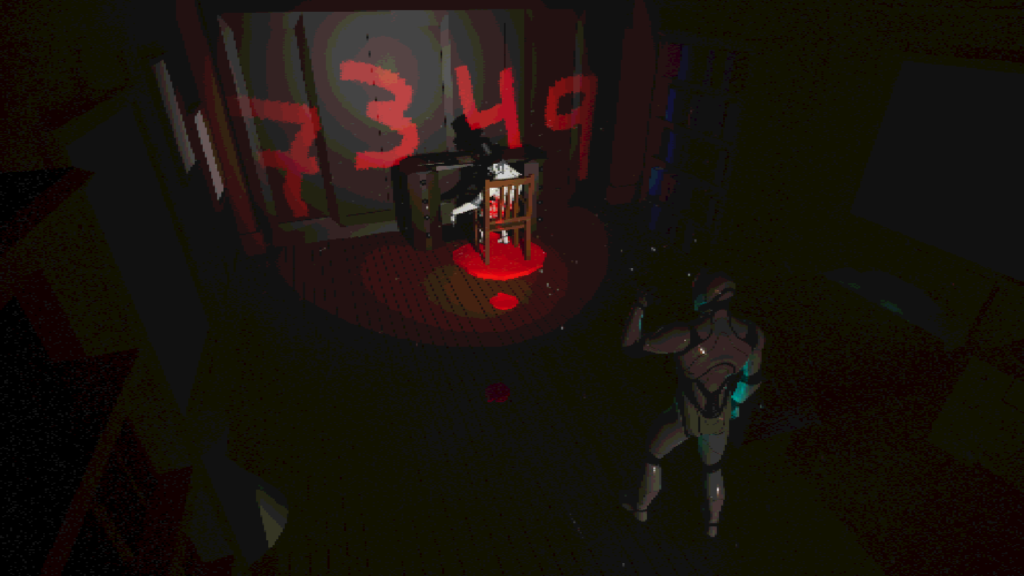
3 . The Ritual
Player Agency
I also wanted player agency to be a focus in this level. The player can explore the mansion and interact with different objects, which is something I wanted to mimic from Resident Evil. I wanted to have obvious descriptions. I personally find this very funny and charming.
The Mystery Man
Once the player walks on the golden path they will get their first glimpse on the mystery man. This is a tool used to draw the player towards a specific direction. It’s also used to establish the overarching story.
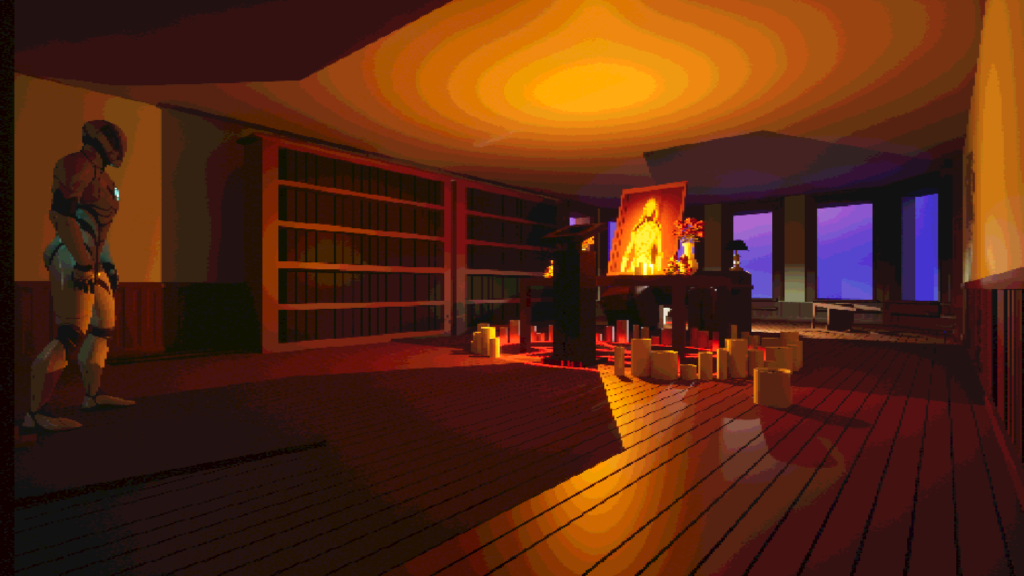
Presenting the End Goal
Once the player enters the main office they will be greeted with a ritual and a photograph of a woman, insinuating that the coffin belongs to this woman. This also is the players end goal. Curious players can get more context by interacting with objects in this area.
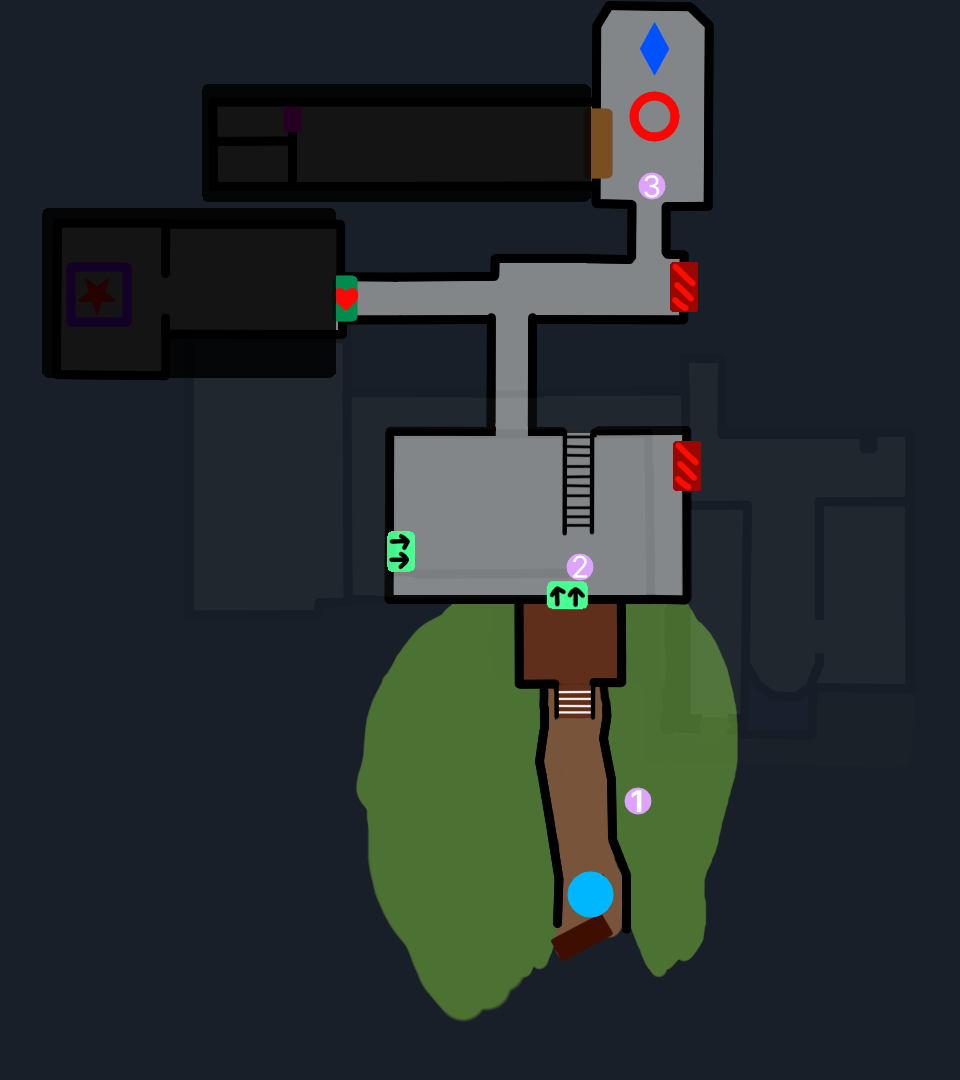
ACT 2
Question what’s going on
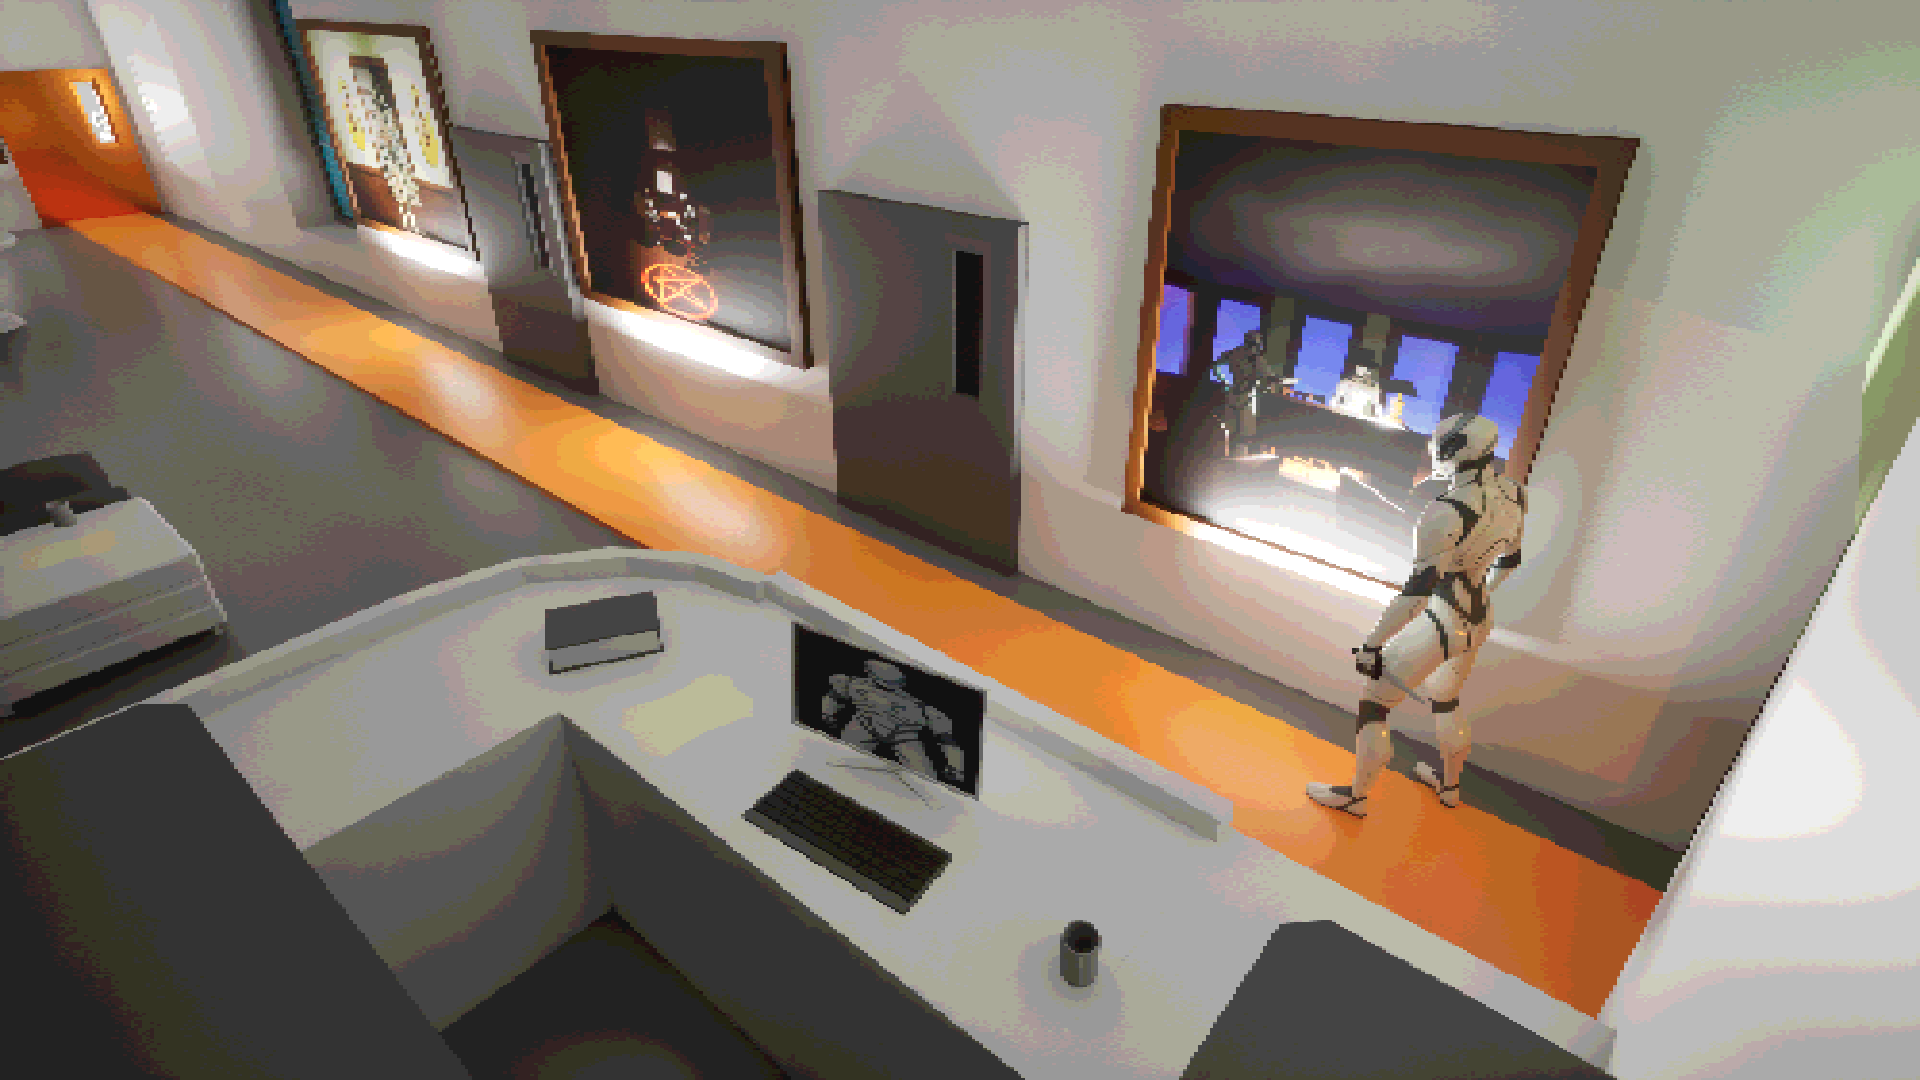
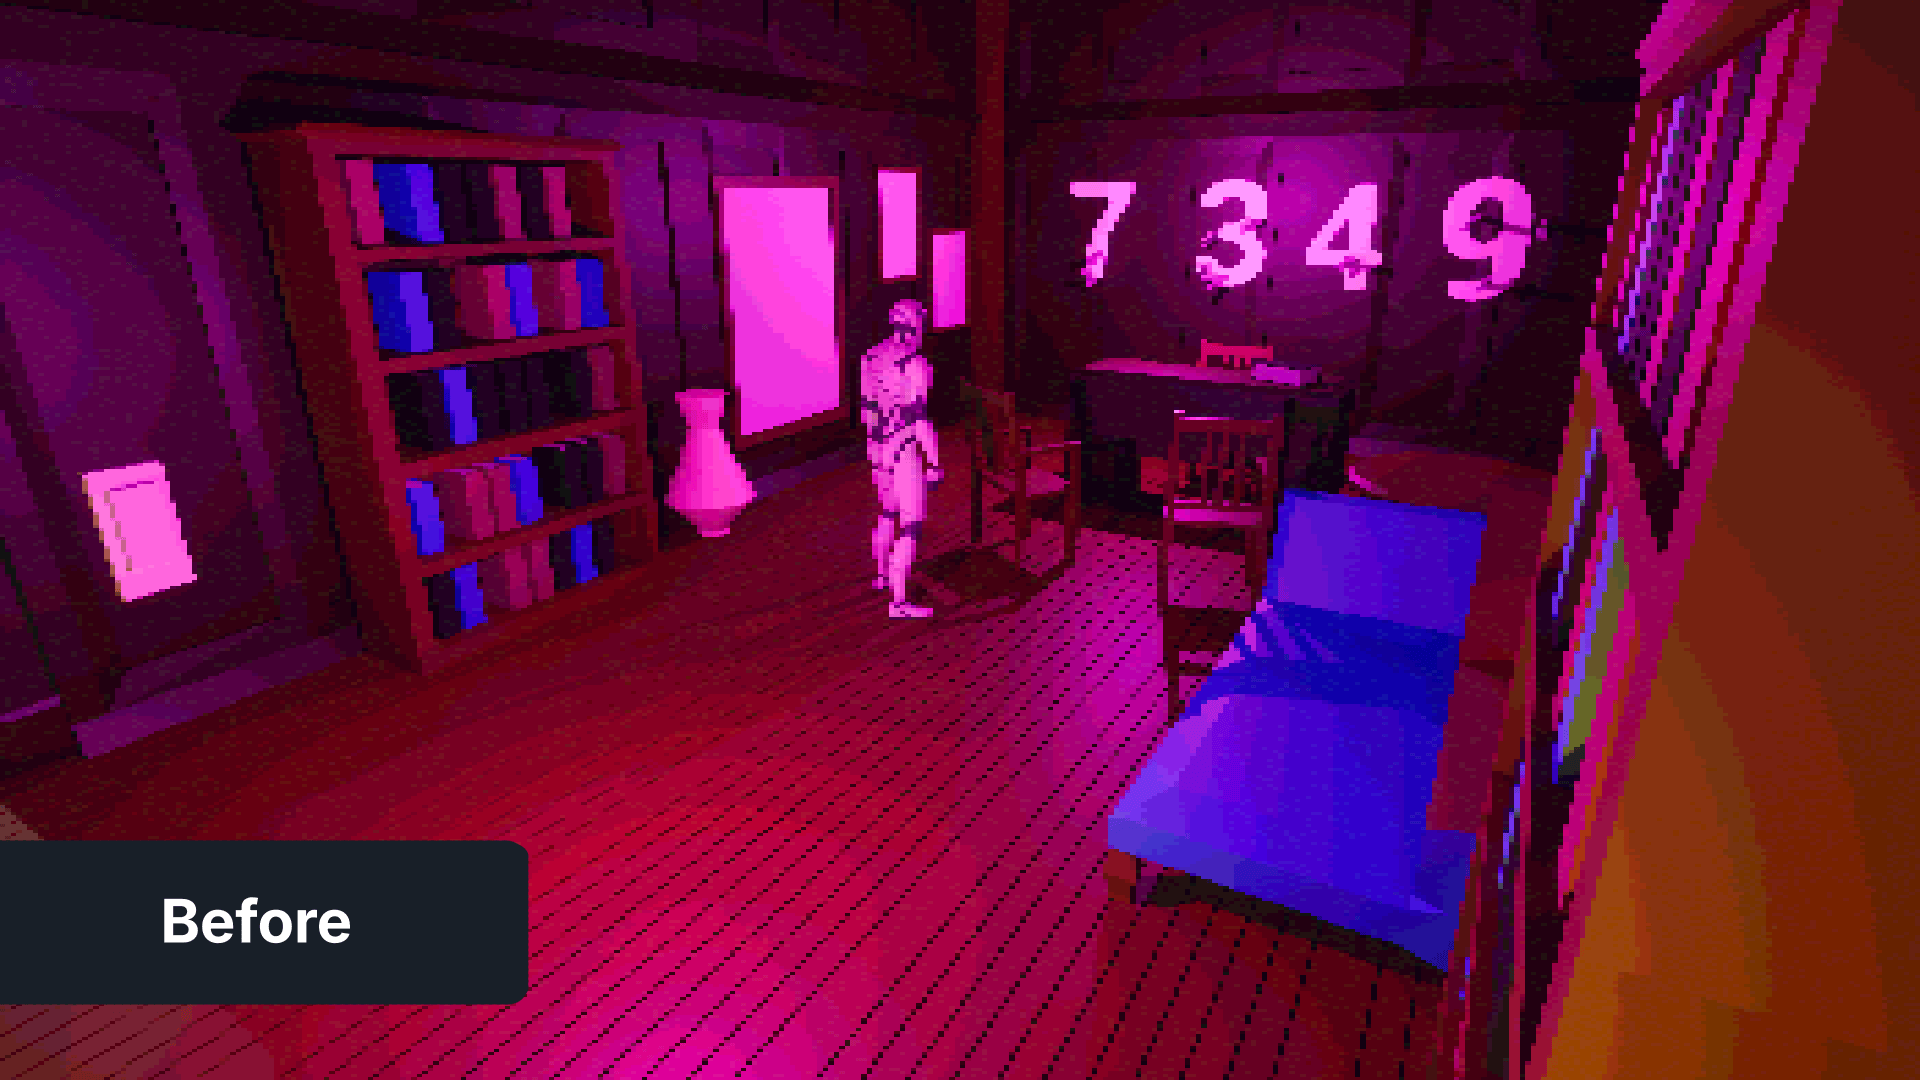
Act 2 is when things start to get weird. The purpose of this act is to tell the player that the mystery man is a murderer, that you’re being watched and start questioning if this is a dream or reality.
The goal is to communicate this to the player implicitly (Showing, not telling). All of these things are achieved with scripted events which I believe is a strong tool to use.
4 . Murder Mystery
5 . Someone is watching
6 . Is this a dream?
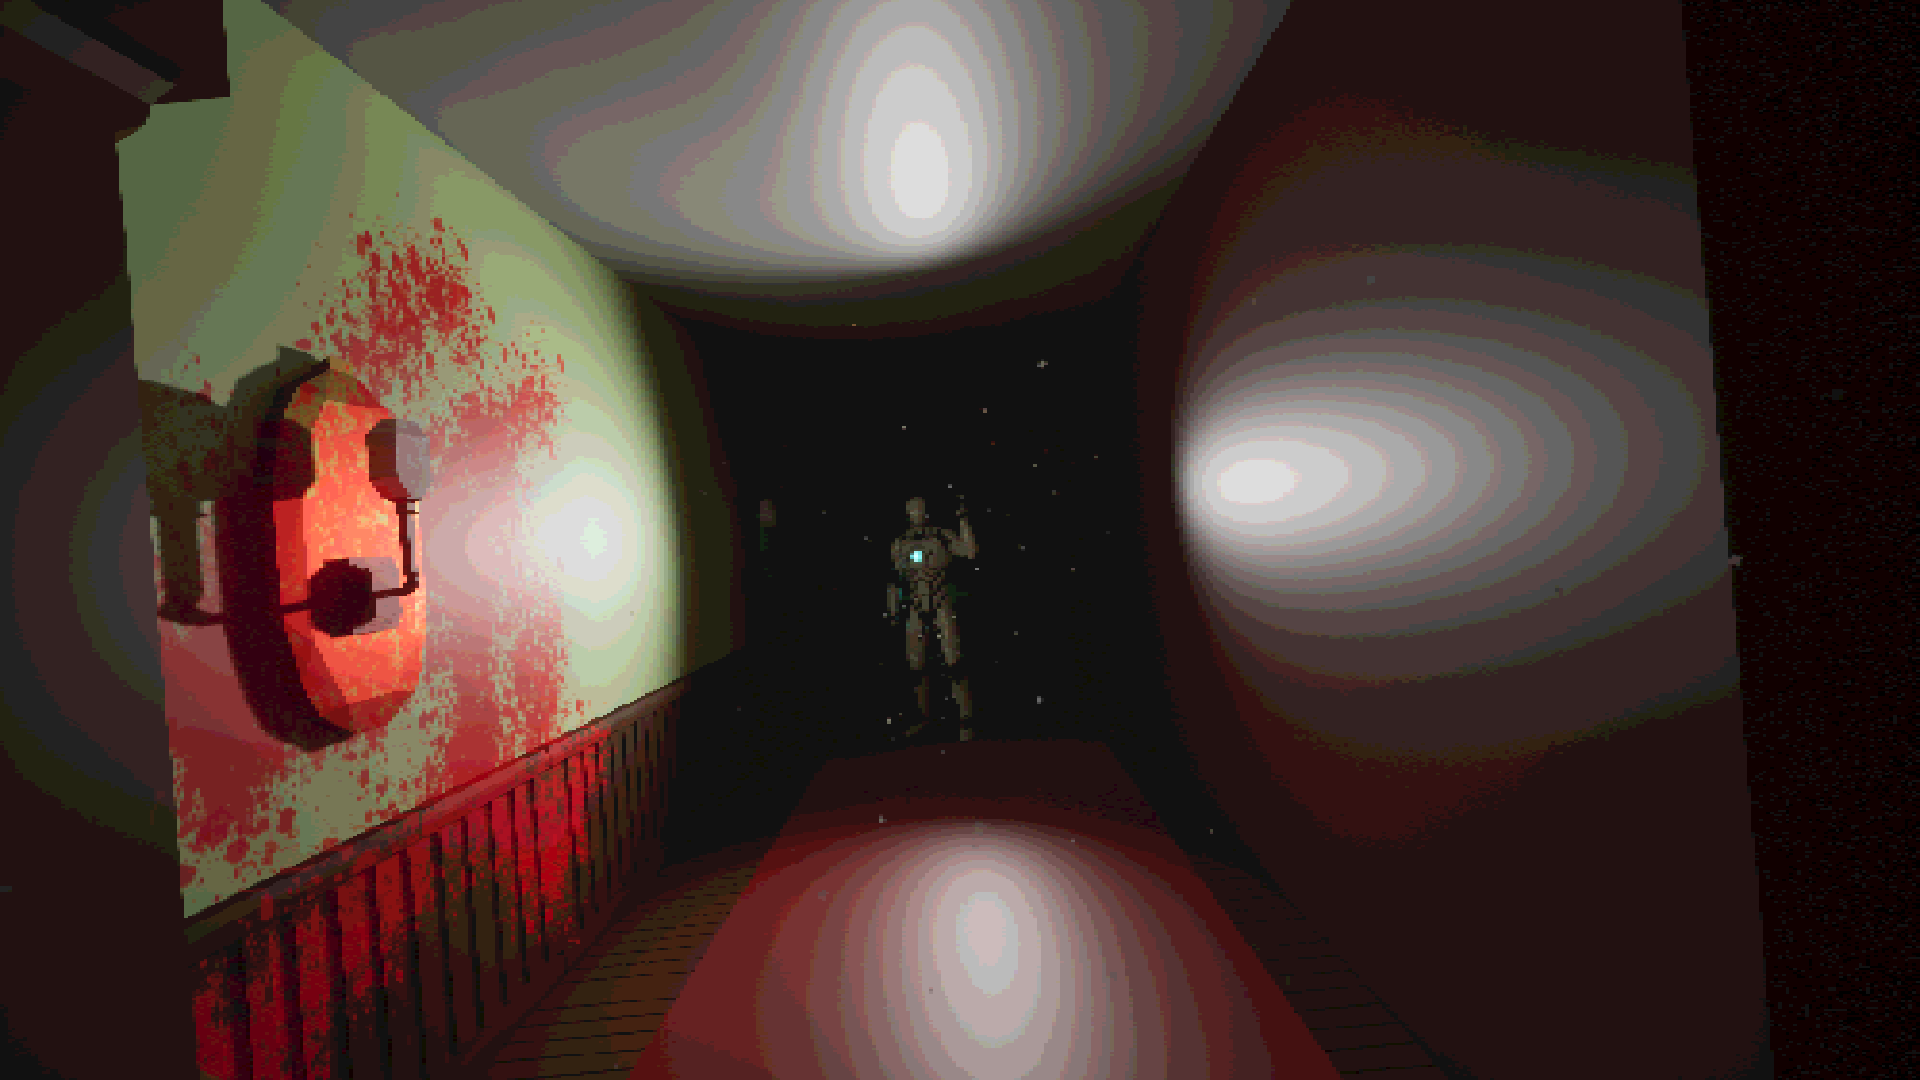
Am I being Watched?
Using scripted events makes the backtracking more interesting and adds to the mystery for the level. This also foreshadows the ending.
Or Am I Dreaming?
Working with sequencers allowed me to create sections where I can confuse the player. I also made use of my interactable system where the character adds a comment on what you are seeing, implying that this might be in the protagonists head.
ACT 3
The Final Act
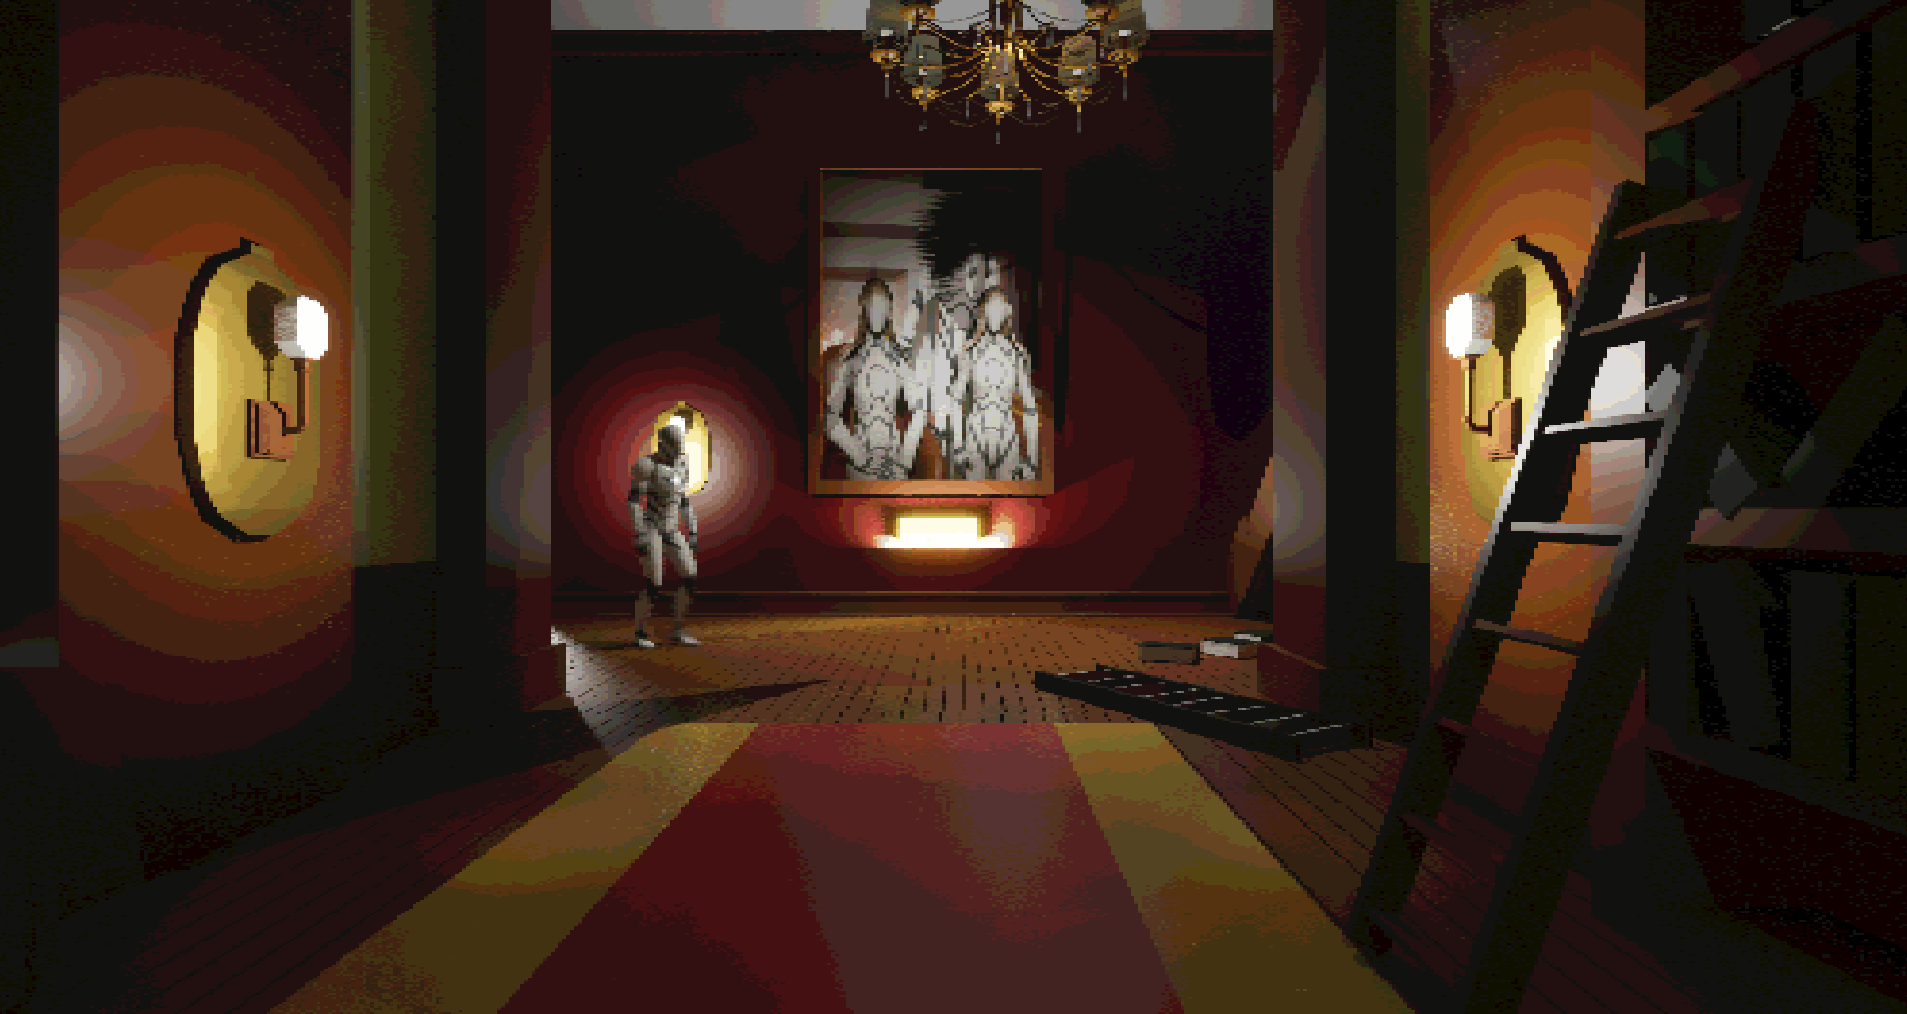
In the last act, my goal was to build up to the climax of the whole story and experience of the level. To accomplish this, I used environmental cues. By swapping paintings, adding blood splatter to the walls and similar scripted events, I managed to really elevate the tension. This kept the player on their toes all the way through to the grand reveal.
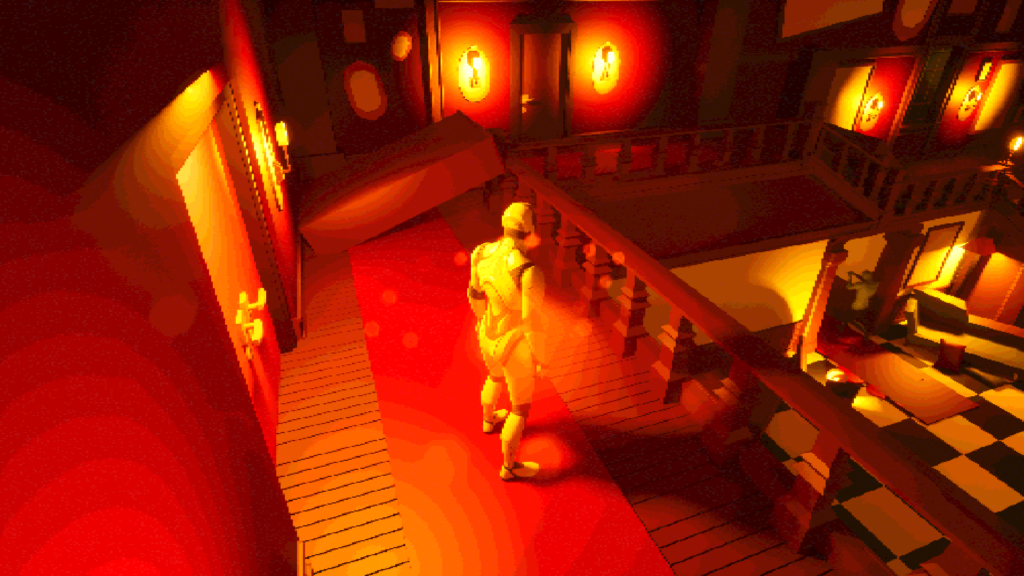
7 . The Painting
8 . Dutch Angle
9 . Realization
The Painting
By using the painting of the protagonist I draw the player towards it. The player will automatically go through a trigger box that will activate the ending. This will also increase the intensity of the level.
Dutch Angle
I wanted to use a camera angle I didn’t use before in the level, so I tilted the camera a bit and changed the previously visited hallway to create a more dramatic effect. The goal with this shot is to elevate the tension.
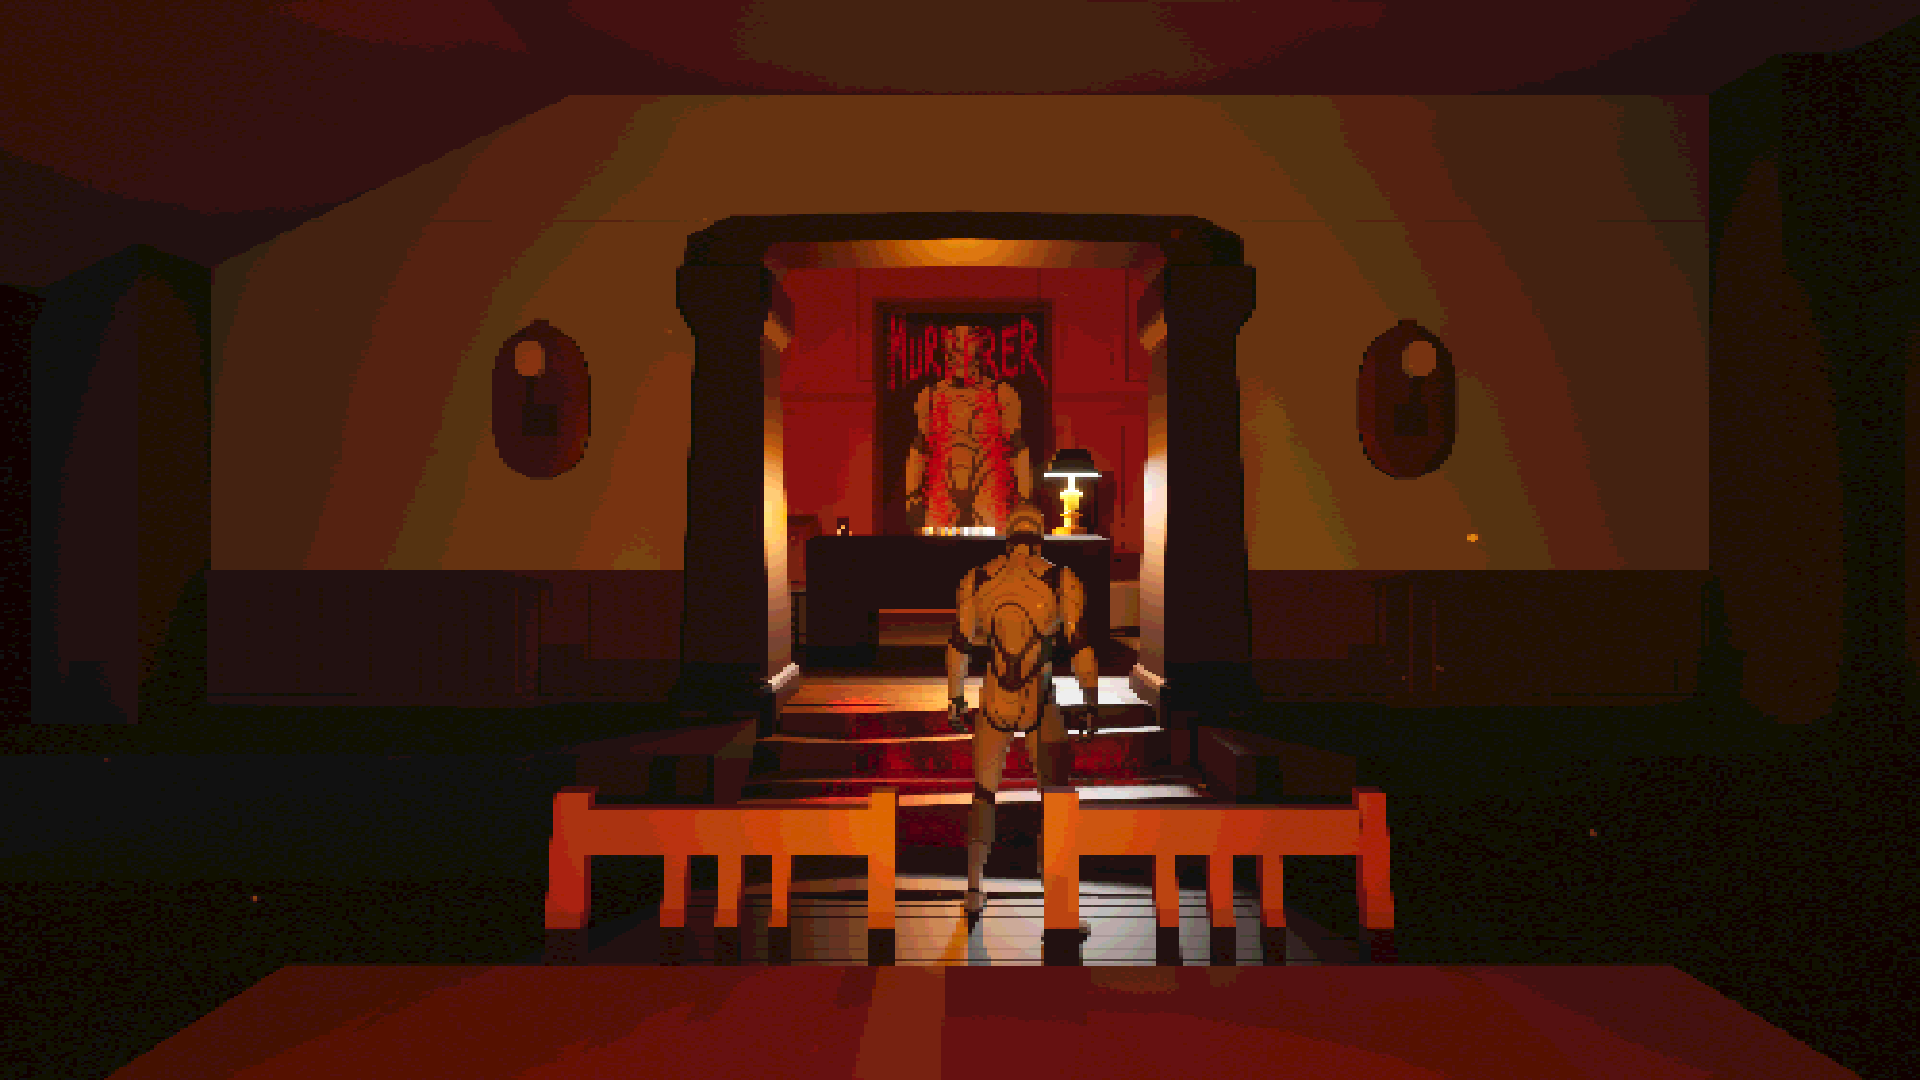
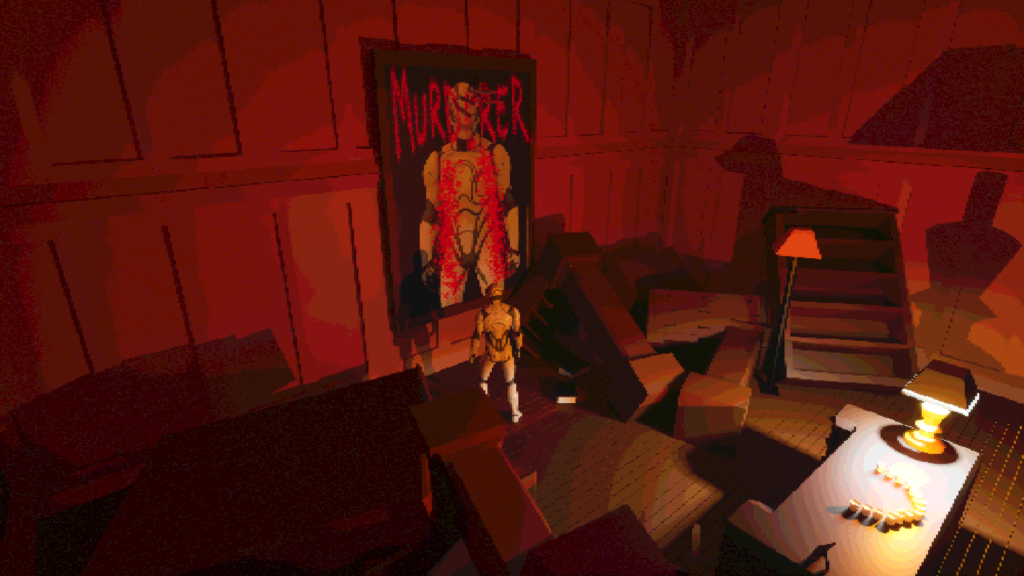
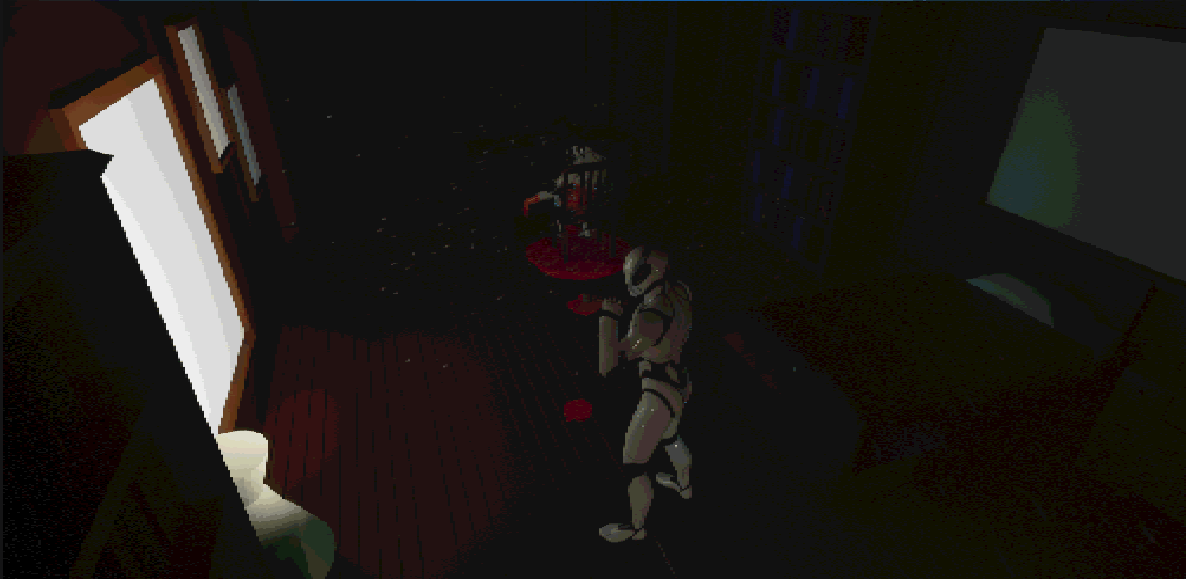
The Realization
The protagonist now has a knife in their hand making the player realize that you are the mysterious knife man. The images on the walls is symbolizing the doctors that have been watching you throughout the level and taking pictures of what’s been really going on in the mansion.
Adding purpose to each room
One issue with this level was that it was too many rooms that lacked personality. It was just generic offices that didn’t have a purpose, even with the old narrative for the level.

Working with a Fixed Camera
Working with a fixed camera gives me full control on what the players can see.
Ever since I first played Resident Evil 1 I always found it very fascinating how the designers set up the different camera angles, working with composition, tension and release. Going around a corner and not knowing what to expect is something I love as both a designer and a gamer.

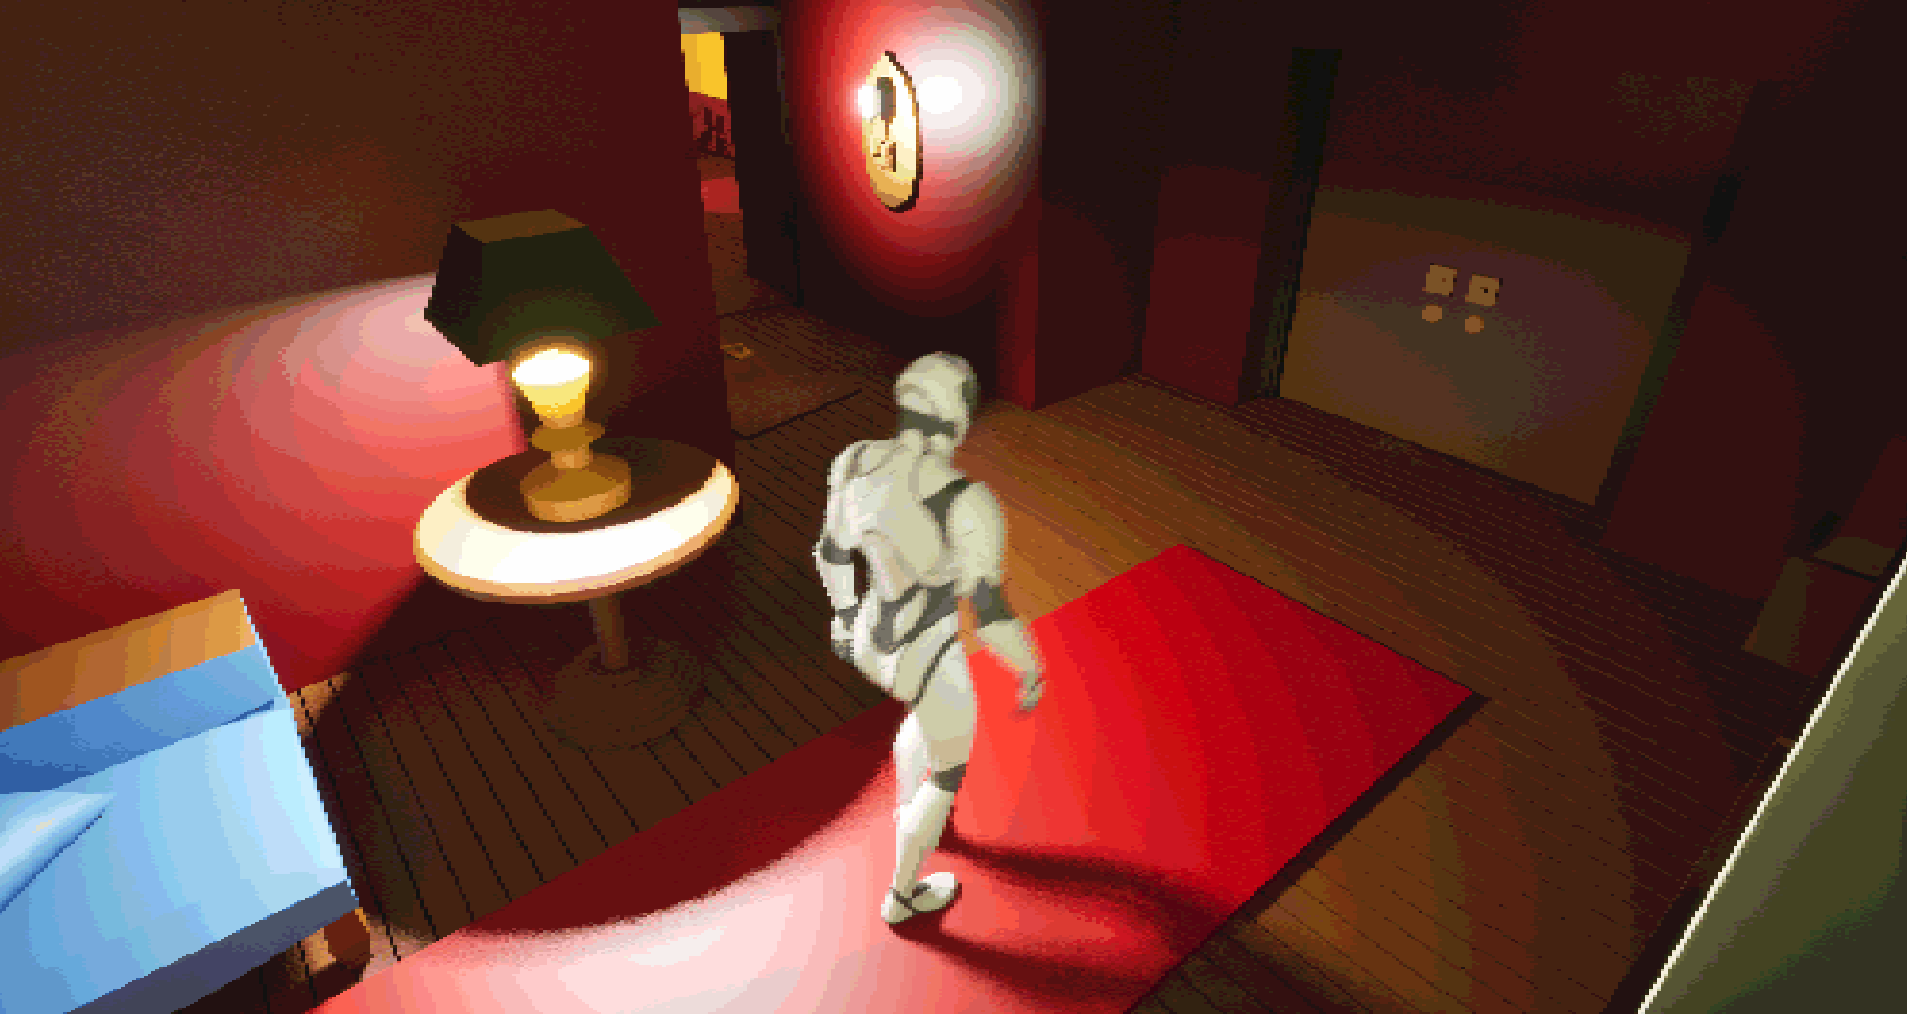
As I mentioned, you don’t know what’s waiting for you around a corner when the camera changes. This helps me create an element of surprise.
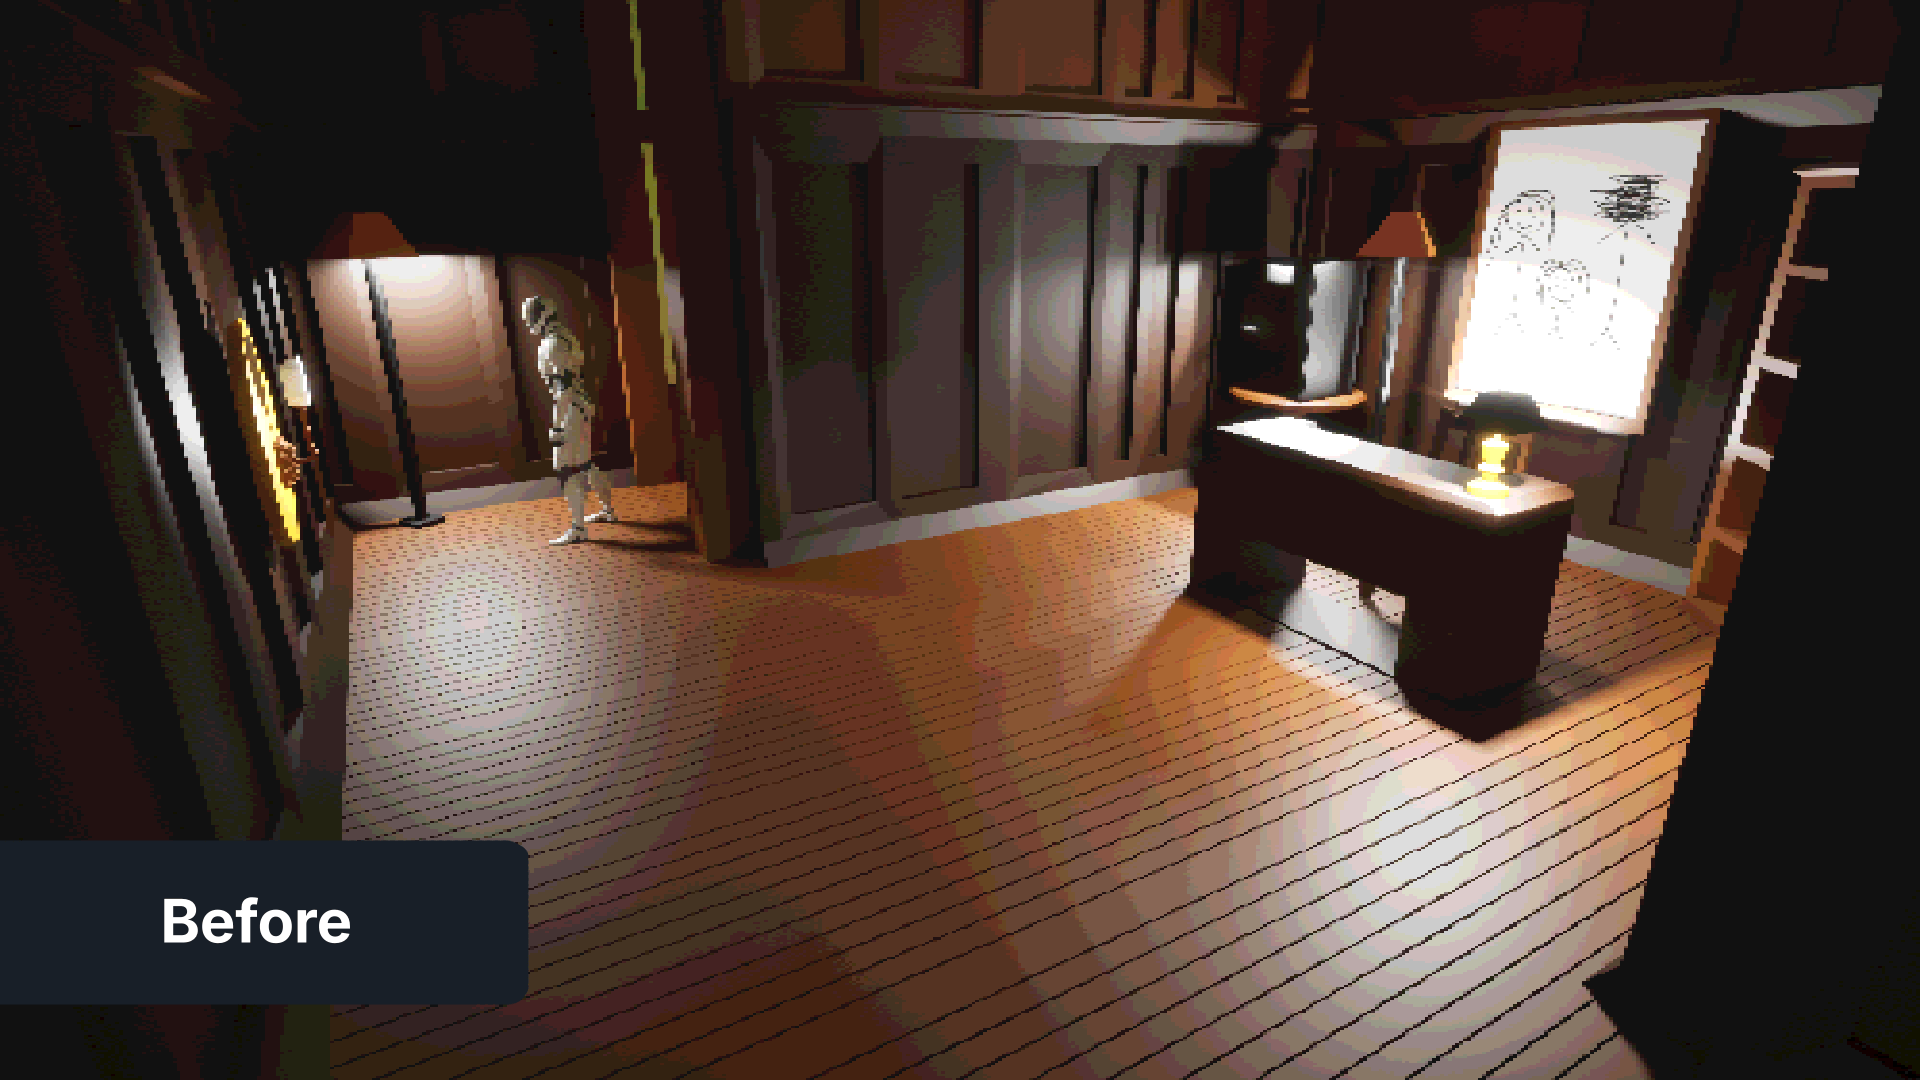
Pre-production
This is an old assignment I worked on last term which was a part of the advanced scripting course. I really wanted to create a template inspired by my favorite survival horror franchise Resident Evil with a fixed camera system. I wanted to play around with the camera angles and lead the players with the composition.

(Early blockout stage)
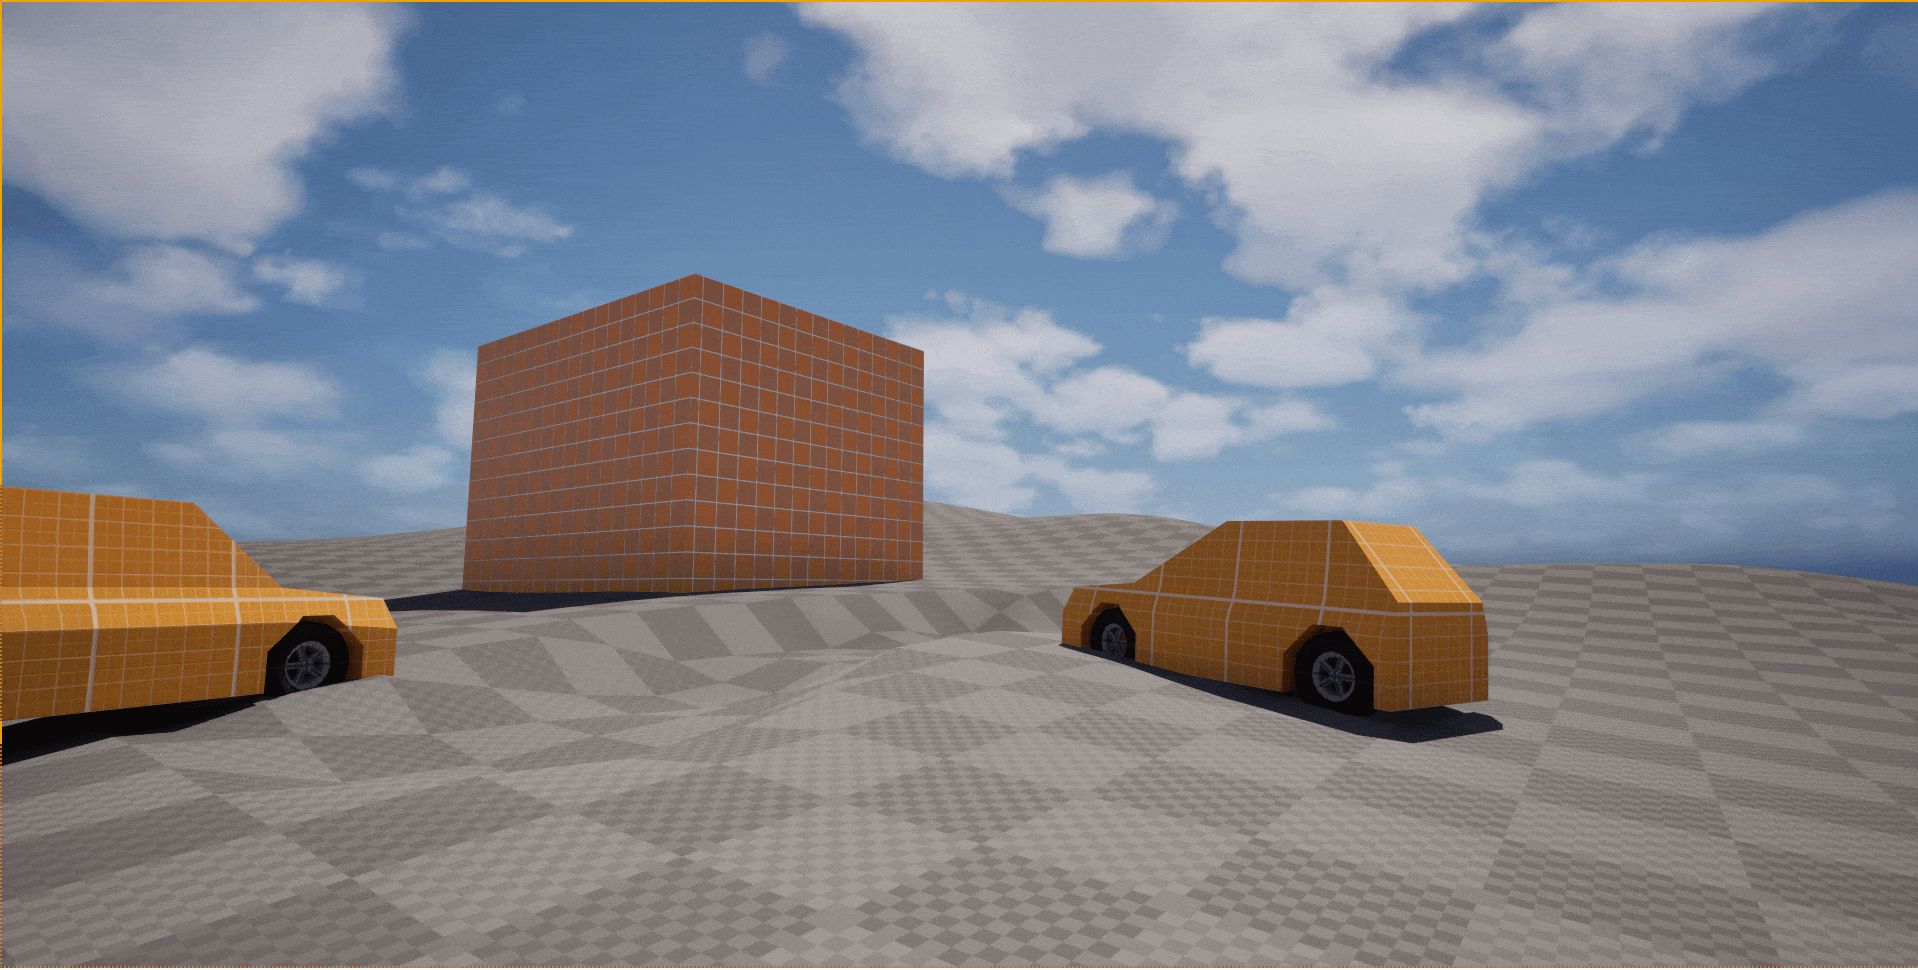
For this level I had 2 weeks of working on the template and 2 weeks on creating the level. During this time I had a very clear vision on what I wanted to create and I gathered reference images and started blocking out.
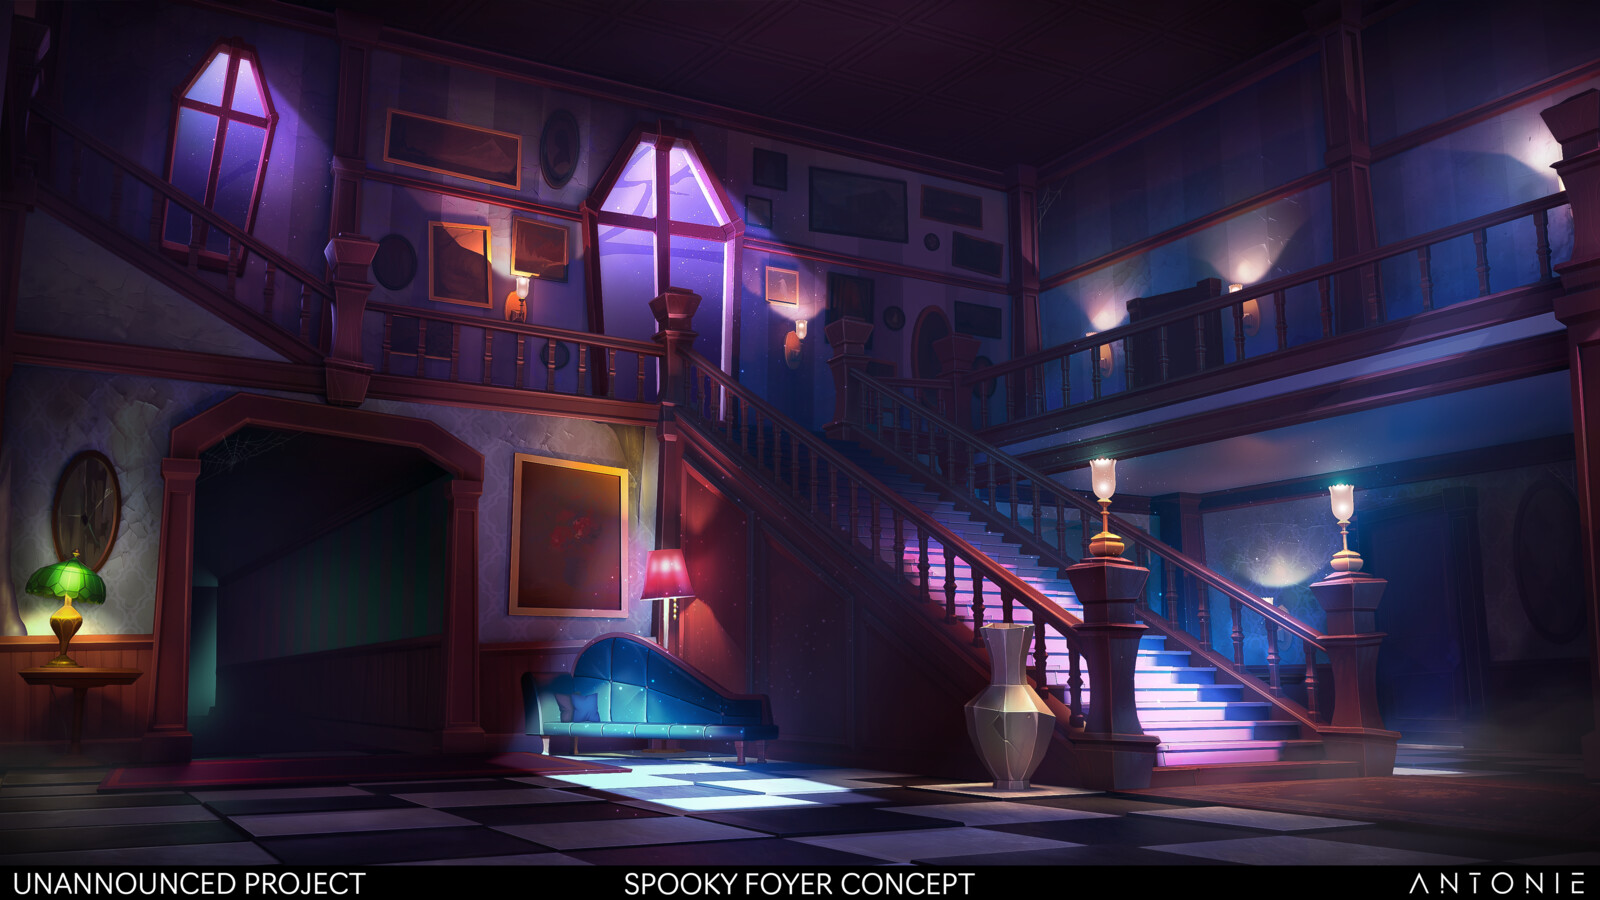
I worked with reference images and re-create areas and make something playable with them. I really liked the aesthetics of the main hall. I thought it had a cool environment with it’s props and I felt like it fit the vision I had for the level.
The goal was to tie in the story for the level and create rooms that would fit both narratively and environmentally.
Reference
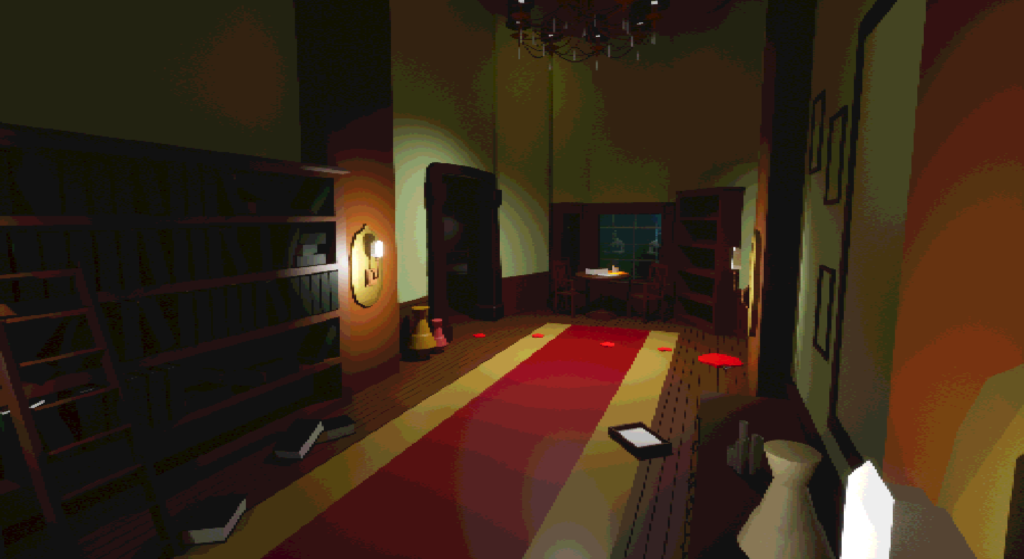
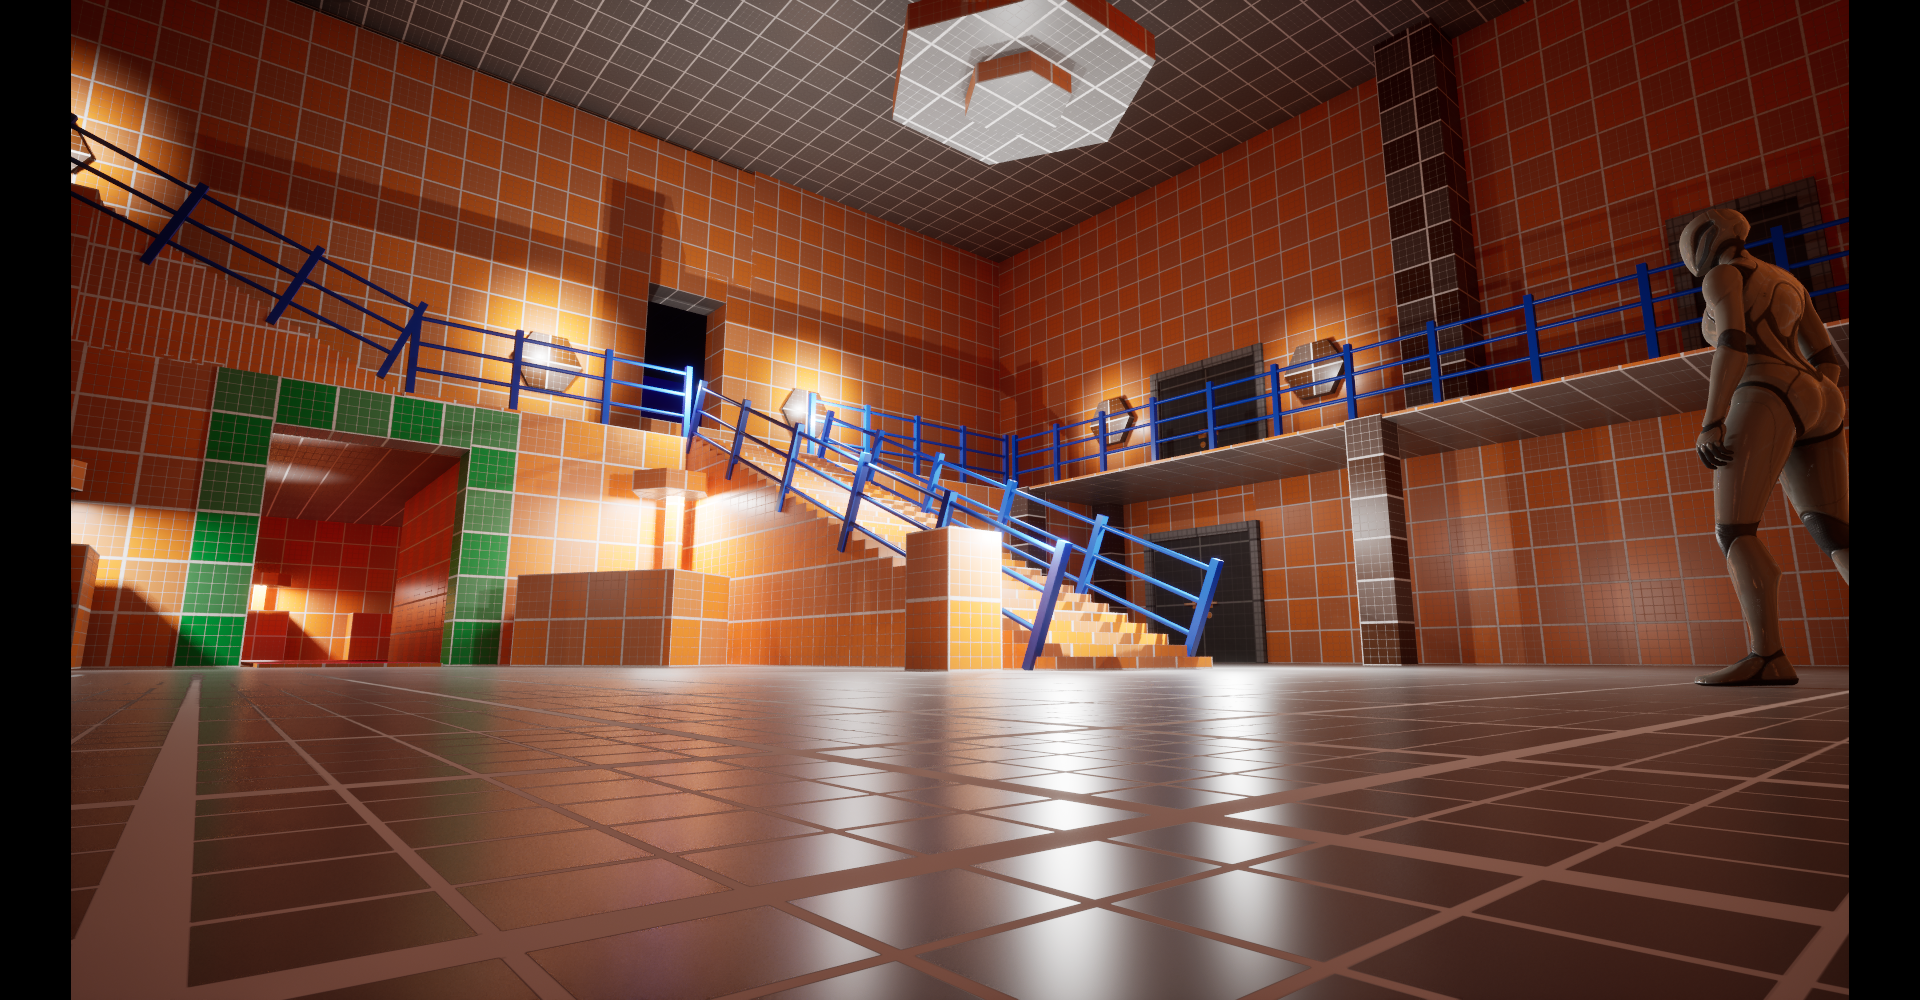
Whitebox
Collaborating with People
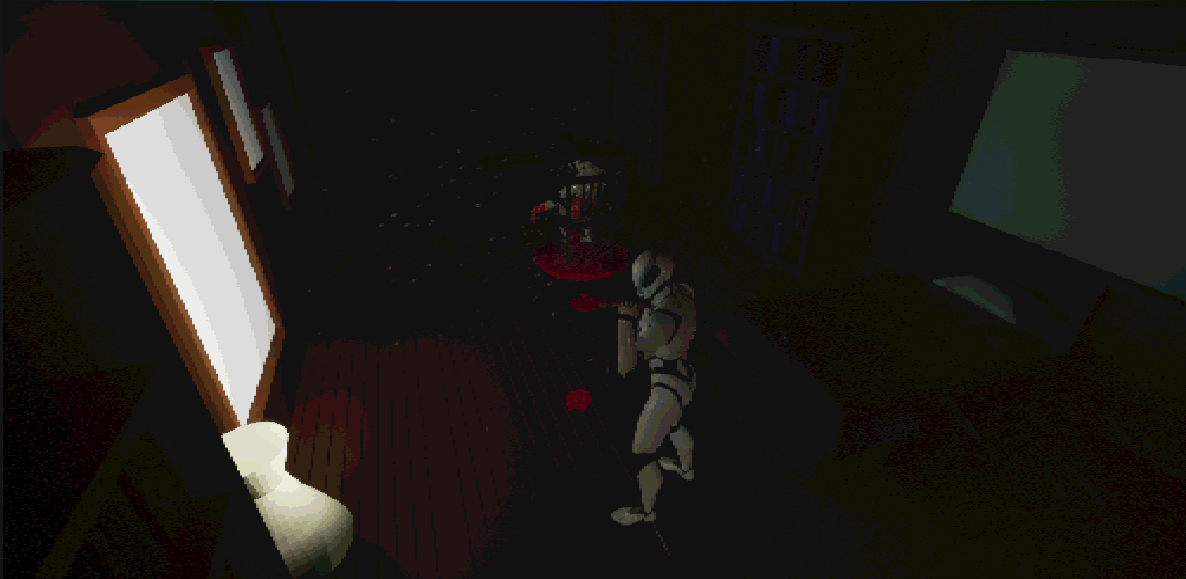
My prototype
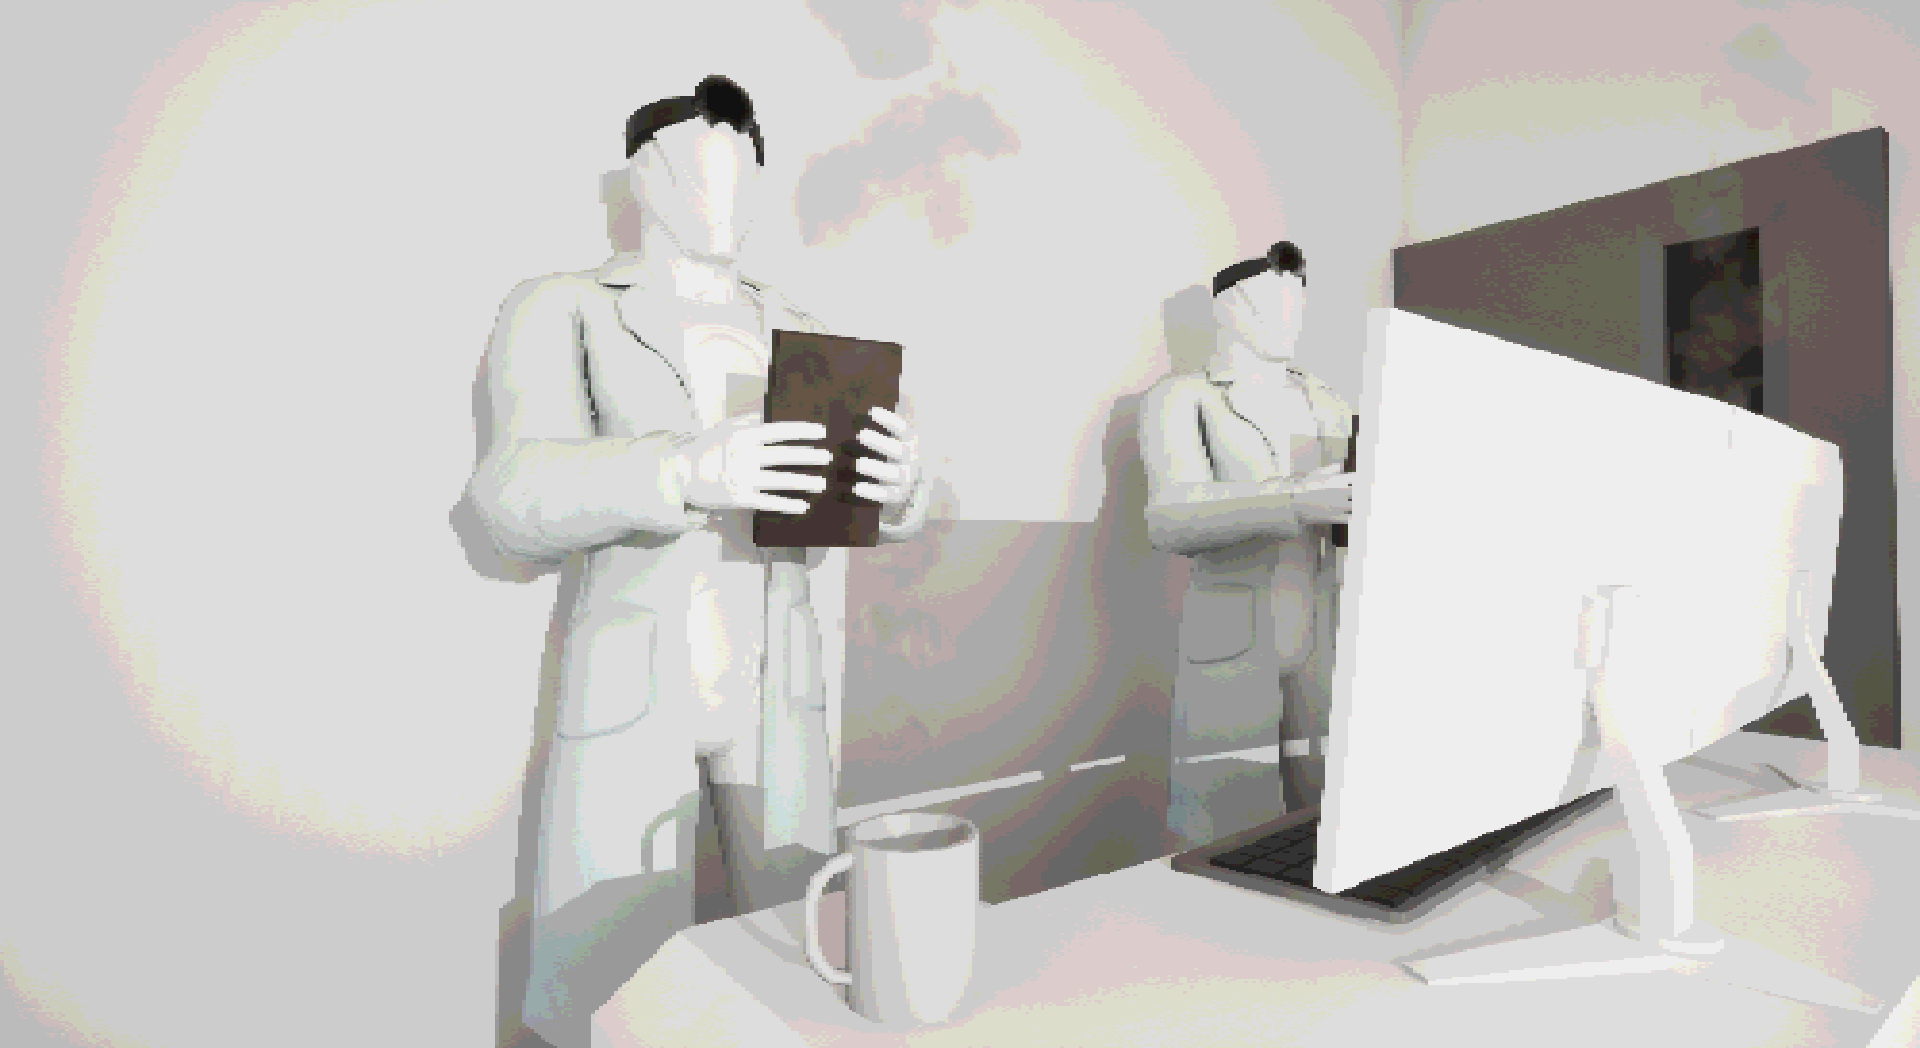
Elias created and showed me an early version of his UV Light Shader. I made some small adjustments to make it fit the level and it was good to go.
Elias early version of the shader
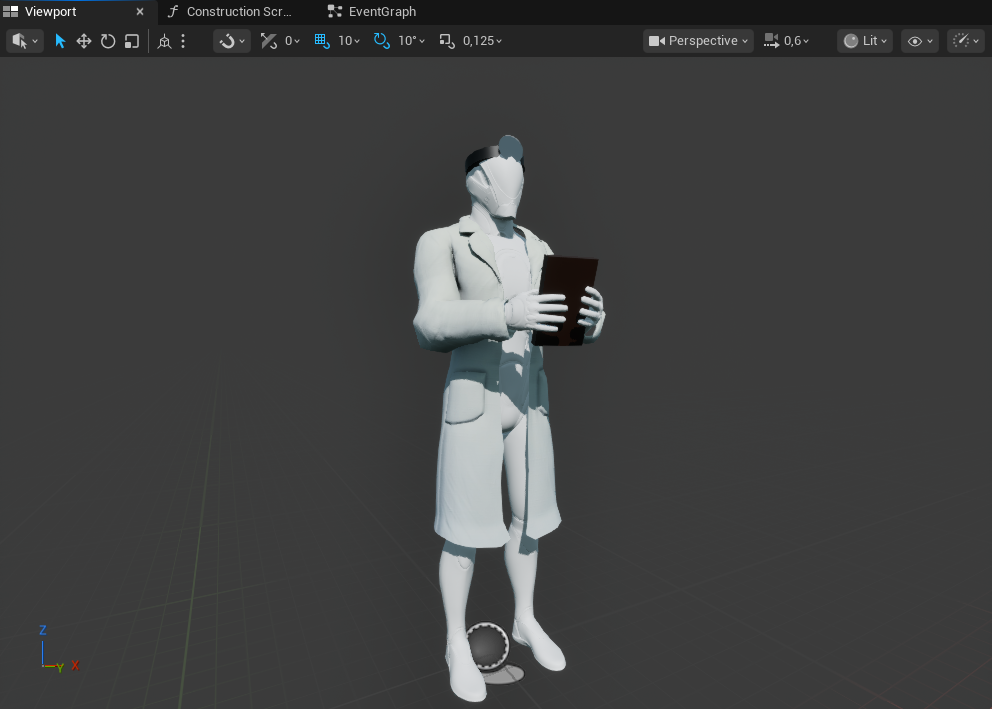
The new iteration of the level was going to feature doctors. To emphasize the doctor look I asked Character Artist Emil if he could do a doctor coat. It turned out great.
Having these two elements in my level has really elevated the experience. One thing I really love about creating levels and games is the collaboration with other disciplines. Working together with talented people to bring ideas to life is what I believe creates great experiences.

Full Playthrough
Reflections
This has been one of the most enjoyable projects I have worked on. I feel like I have accomplished the goals of creating a level that has a lot of environmental storytelling, backtracking and working with compositional shots using fixed cameras.
If I had more time I would add enemies, combat and healing to my game template since I believe it would create a more intense experience for the player. Giving the player limited ammunition and adding enemies to backtracking moments would definitely elevate the experience while still keeping the levels identity. I think it would also be interesting to see how this level would work with a first person perspective or an over the shoulder perspective.
This project is unlike anything I have done. Working with fixed cameras have been a super fun and challenging experience. Using composition to guide and lead the player through the level was a very rewarding experience. I also feel like I created a nice level flow that felt very natural to the players while playing.
Thanks for reading!
Ediz